

Renovations can make a home feel new, but painting and finishing is where the work becomes visible. Fresh plaster, repaired timber and new fittings only look complete when the surfaces are properly prepared, coated and checked. A flawless result is not about rushing to the final colour. It comes from sequencing the job well, choosing the right products and paying attention to the details most people only notice once something goes wrong.
For Melbourne homes and commercial spaces, the local climate adds another layer. Heat, rain, coastal air, older substrates and fast renovation timelines can all affect adhesion and durability. These tips will help you plan a smoother repaint, whether you are doing small touch-ups, managing a full renovation or deciding when to bring in professional painters.
Painting and finishing starts with a realistic renovation scope
Before you choose colours, define what needs to be painted, what needs to be repaired and what should be left alone. A common renovation mistake is treating paint as a cover-up for uneven plaster, swollen timber, water stains or old coatings that are already failing. Paint improves a sound surface, but it cannot permanently hide movement, moisture or poor preparation.
Walk through the property room by room and note the condition of walls, ceilings, doors, skirting boards, window frames, eaves and exterior cladding. A practical painting and finishing plan separates simple repaint areas from surfaces that need patching, sealing, sanding or specialist preparation before any topcoat is applied.
Build the sequence around other trades
Painting should be planned around flooring, cabinetry, electrical work, plastering, tiling and exterior repairs. If painters start too early, fresh walls can be marked by installers and tools. If painting is left too late, trades may have to work around finished surfaces, which increases the risk of scuffs and delays.
For interiors, ceilings usually come first, followed by walls, trims and doors. For exteriors, repairs to timber, render, gutters and sealants should be completed before coating begins. This sequence keeps edges clean and reduces rework, especially in renovations where several trades share the same site.
Prepare every surface before you open the paint tin
Preparation is the difference between a finish that looks good on handover day and one that still looks good years later. Dust, grease, chalky old paint, loose filler and glossy surfaces can all stop a new coating from bonding properly. The preparation stage is also where small defects become easier to fix.
Good painting and finishing relies on cleaning first, then repairing, then sanding and priming as required. On interior walls, this may mean washing high-touch areas, filling dents, feathering patch edges and spot-priming repairs. On exterior surfaces, it can include pressure washing, scraping loose paint, treating mould and allowing surfaces to dry properly.
Do not skip primer where it is needed
Primer is not always required on a previously painted wall in sound condition, but it matters on bare plaster, raw timber, patched areas, stained surfaces and significant colour changes. The right primer helps even out porosity, improves adhesion and reduces the chance of stains bleeding through the topcoat.
If you are painting over a strong colour with a pale neutral, primer can also reduce the number of topcoats needed. For renovations with mixed surfaces, such as new plaster beside older painted walls, priming helps create a more consistent final appearance.
Control dust and site protection
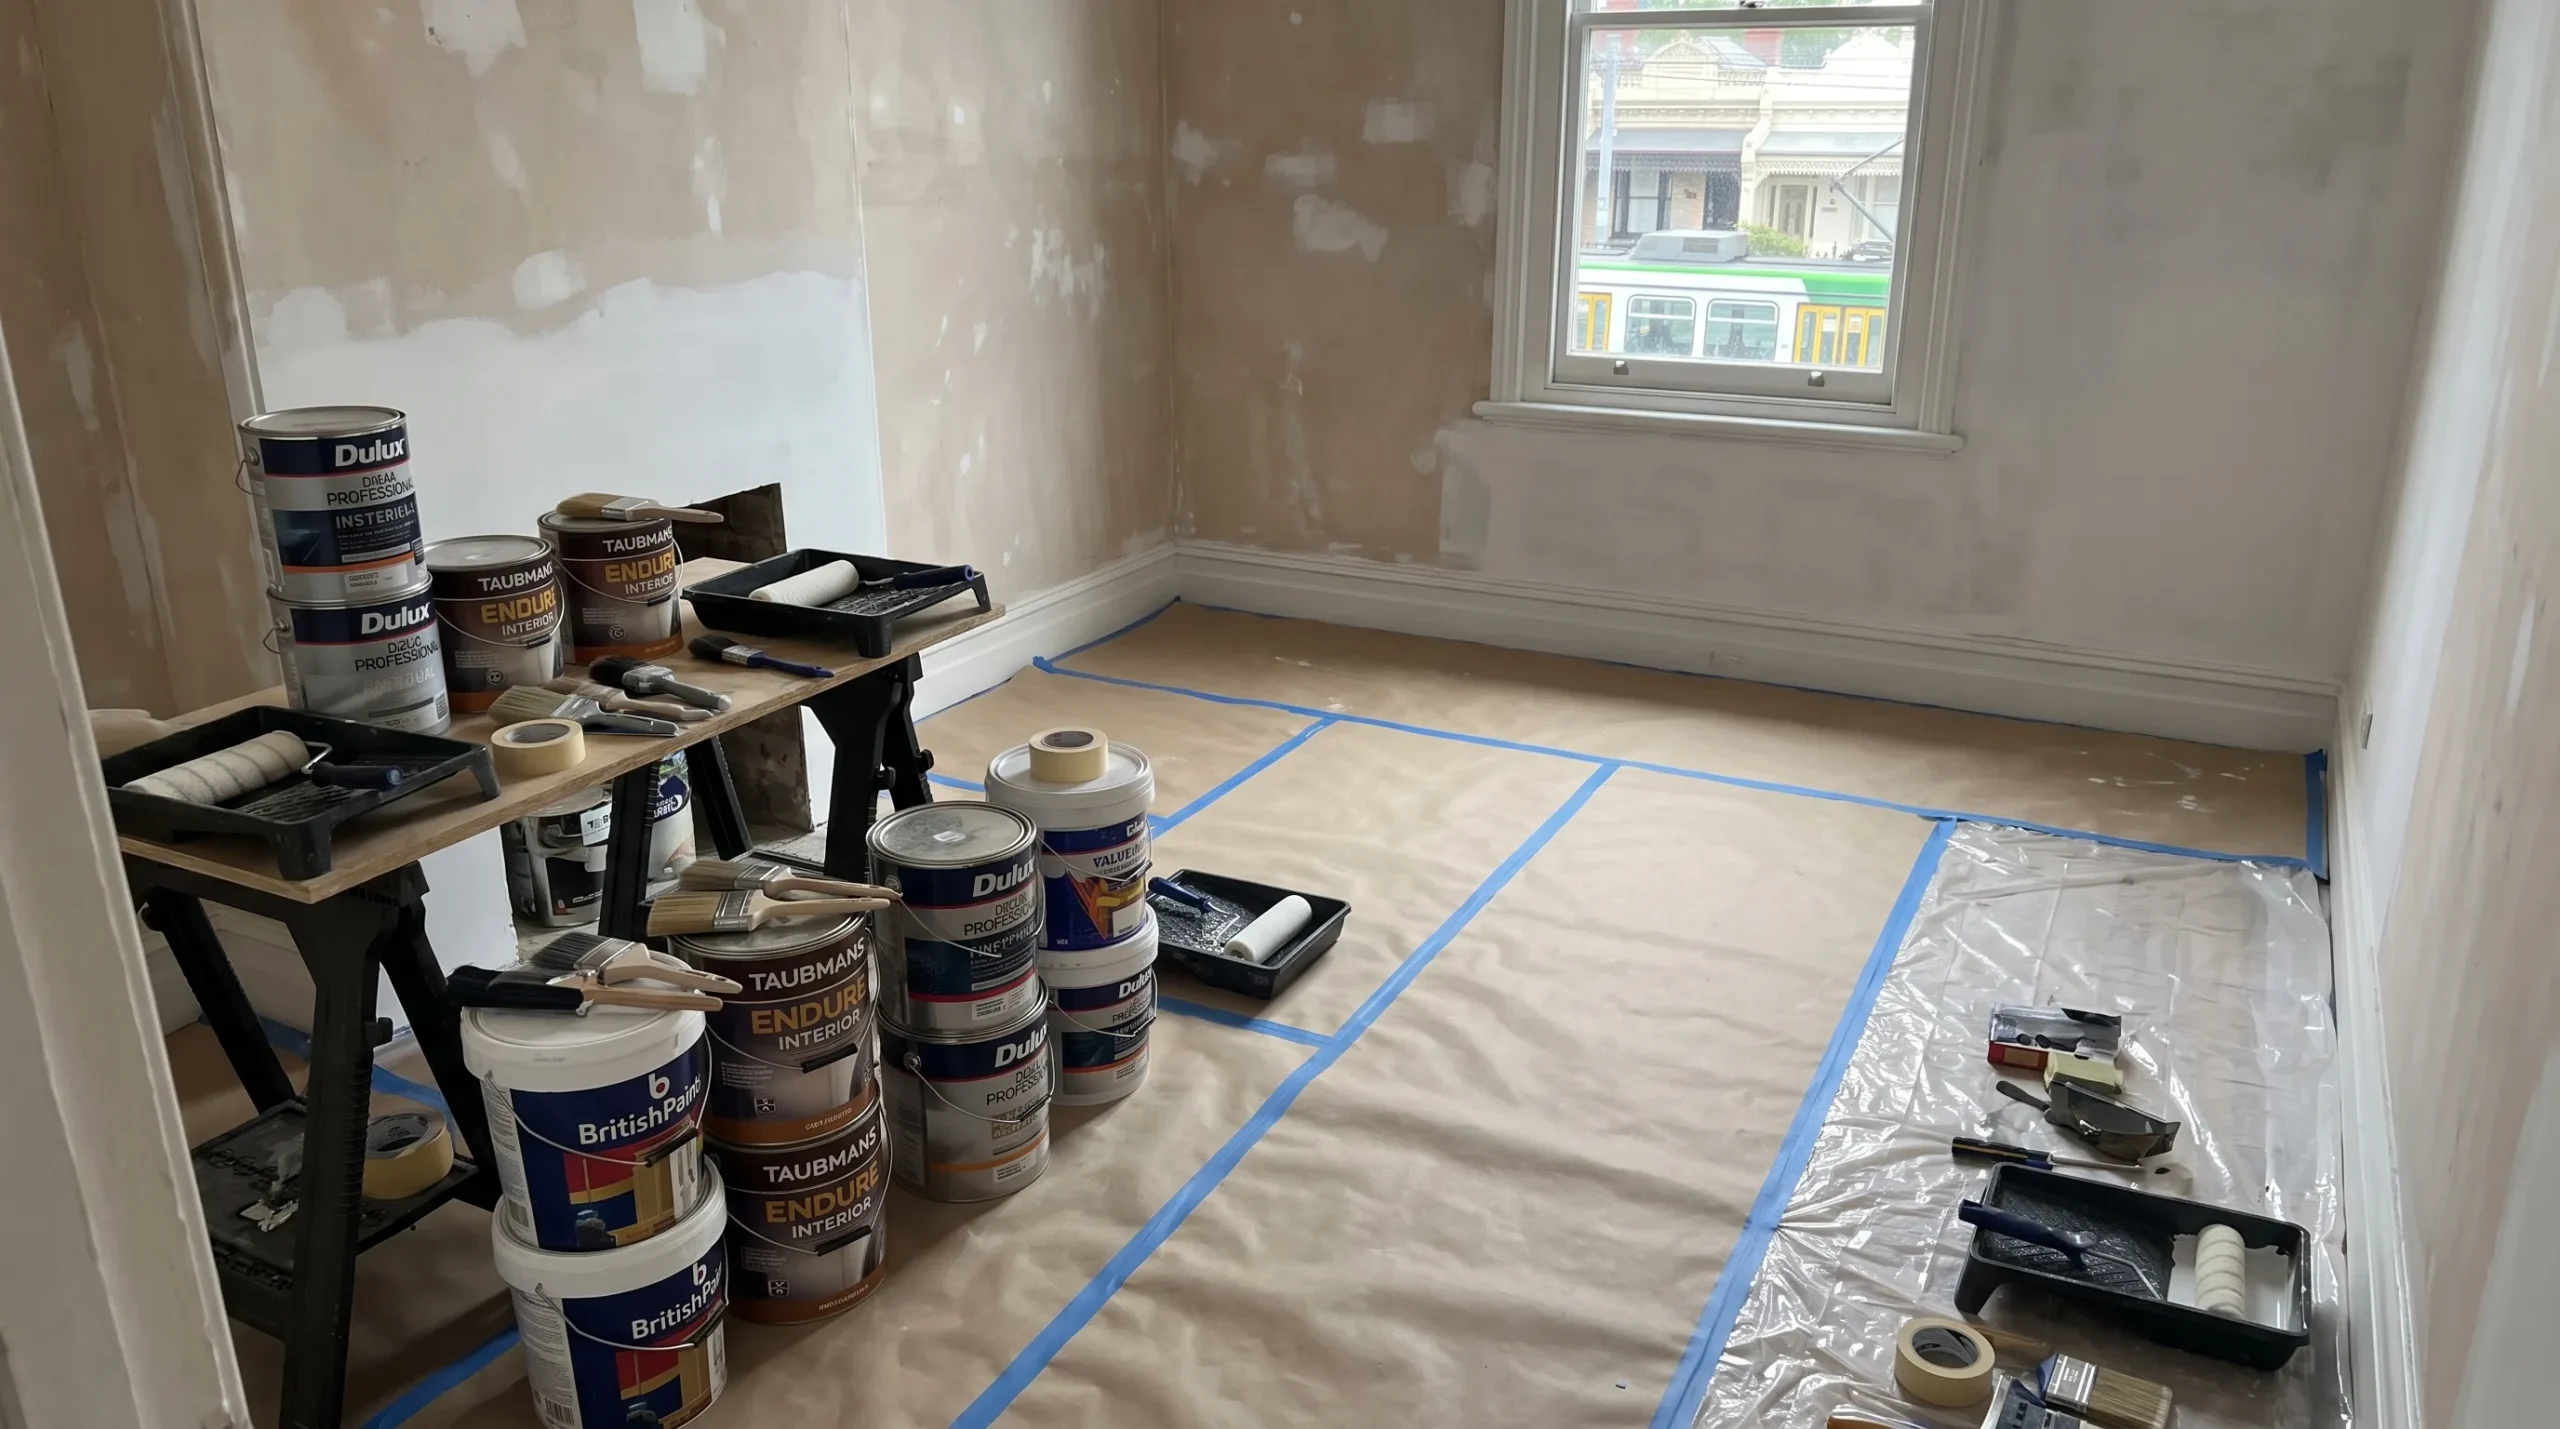
Dust is one of the easiest ways to spoil a fresh finish. Sanding dust, sawdust and renovation debris can settle into wet paint, leaving rough spots or dull patches. Vacuum, wipe down and allow dust to settle before coating. Floors, benchtops, joinery, appliances and hardware should be covered or removed where practical.
Professional painters also think about access, masking and drop sheets before they start. That setup time can feel slow, but it prevents overspray, roller flicks and accidental damage to newly installed finishes.
Choose the right sheen for each surface
The sheen level affects how a colour looks, how easy a surface is to clean and how much it highlights imperfections. Flat and low-sheen finishes tend to soften wall defects, while semi-gloss and gloss coatings are tougher but more reflective. The right choice depends on the room, the substrate and how hard the surface will be used.
A balanced painting and finishing specification usually uses different sheens across a renovation rather than one product everywhere. For example, ceilings often suit flat finishes, living area walls often suit low sheen and trims often need a harder wearing enamel or water-based trim paint.
| Area | Common finish choice | Why it works |
|---|---|---|
| Ceilings | Flat or matt | Reduces glare and hides minor surface variation |
| Living areas | Low sheen | Offers a clean look with moderate washability |
| Kitchens and bathrooms | Washable low sheen or satin | Handles moisture and cleaning better than flat paint |
| Doors and trims | Satin, semi-gloss or gloss | Provides durability for high-touch surfaces |
| Exterior walls | Exterior low sheen or membrane coating where suitable | Balances appearance, weather resistance and flexibility |
| Metalwork | Suitable metal primer and enamel system | Helps resist corrosion and wear |
Colour can also shift with sheen. A darker colour in gloss can feel stronger than the same colour in a low-sheen finish, especially under bright natural light. Always test sample patches in the actual room or exterior elevation before committing.
Get exterior timing right in Melbourne
Exterior painting needs suitable weather, not just a free weekend. Very hot days can cause paint to dry too quickly on the surface, which can affect flow and adhesion. Cold, damp or wet conditions can delay drying and increase the risk of defects. Wind can blow dust onto fresh paint and make spraying harder to control.
For Melbourne renovations, painting and finishing on exteriors should be scheduled around stable weather and the manufacturer’s temperature, humidity and recoat guidance. It is also worth checking the forecast through the Bureau of Meteorology before locking in coating days, especially for multi-day exterior work.
If your renovation involves weatherboards, render, eaves or exposed timber, preparation becomes even more important. Older exteriors may need scraping, sanding, gap filling, timber repairs and careful coating selection. For a deeper look at hiring help for outside work, Auspainters has a practical guide on choosing exterior painters for a finish that lasts.
Pay attention to the interior details people touch every day
Walls create the main visual impression, but trims, doors, frames and junctions often determine whether a renovation feels truly finished. Uneven cutting-in, thick paint on hinges, rough caulking or missed edges around architraves can make an otherwise good repaint look rushed.
Interior painting and finishing should include careful work around skirting boards, door jambs, window frames, cornices, cabinetry edges and light switches. Remove hardware where practical rather than painting around it. If removal is not possible, tape carefully and cut in with patience.
Make colour work with light and layout
Melbourne homes can vary dramatically in natural light, from bright north-facing living rooms to narrow hallways and shaded period homes. A colour that looks warm in one room may look grey, yellow or flat in another. Test large samples on more than one wall and check them in morning light, afternoon light and artificial light.
If your main renovation goal is to refresh the feel of a home, colour flow matters as much as individual colour choice. Connected spaces usually feel calmer when undertones are consistent, even if each room has a slightly different shade. Auspainters explores this in more detail in its article on how interior painting services transform your Melbourne home.
Do not treat commercial spaces like ordinary rooms
Commercial renovations have extra pressure because downtime costs money and poor workmanship can affect staff, customers and tenants. A shop, office, medical suite or hospitality venue may need staged works, after-hours painting, low-odour products or stronger coatings in high-traffic areas.
For commercial projects, painting and finishing should be planned around access, safety, drying times and business continuity. The best finish is not only smooth and durable, it is delivered with minimal disruption to daily operations. Clear communication about work zones, site protection and handover expectations helps prevent confusion once the project starts.
OHS compliance and insurance matter here. If painters are working around staff, customers, ladders, public entrances or shared building areas, you need confidence that the job is being managed safely as well as neatly.
Inspect the finish before the job is complete
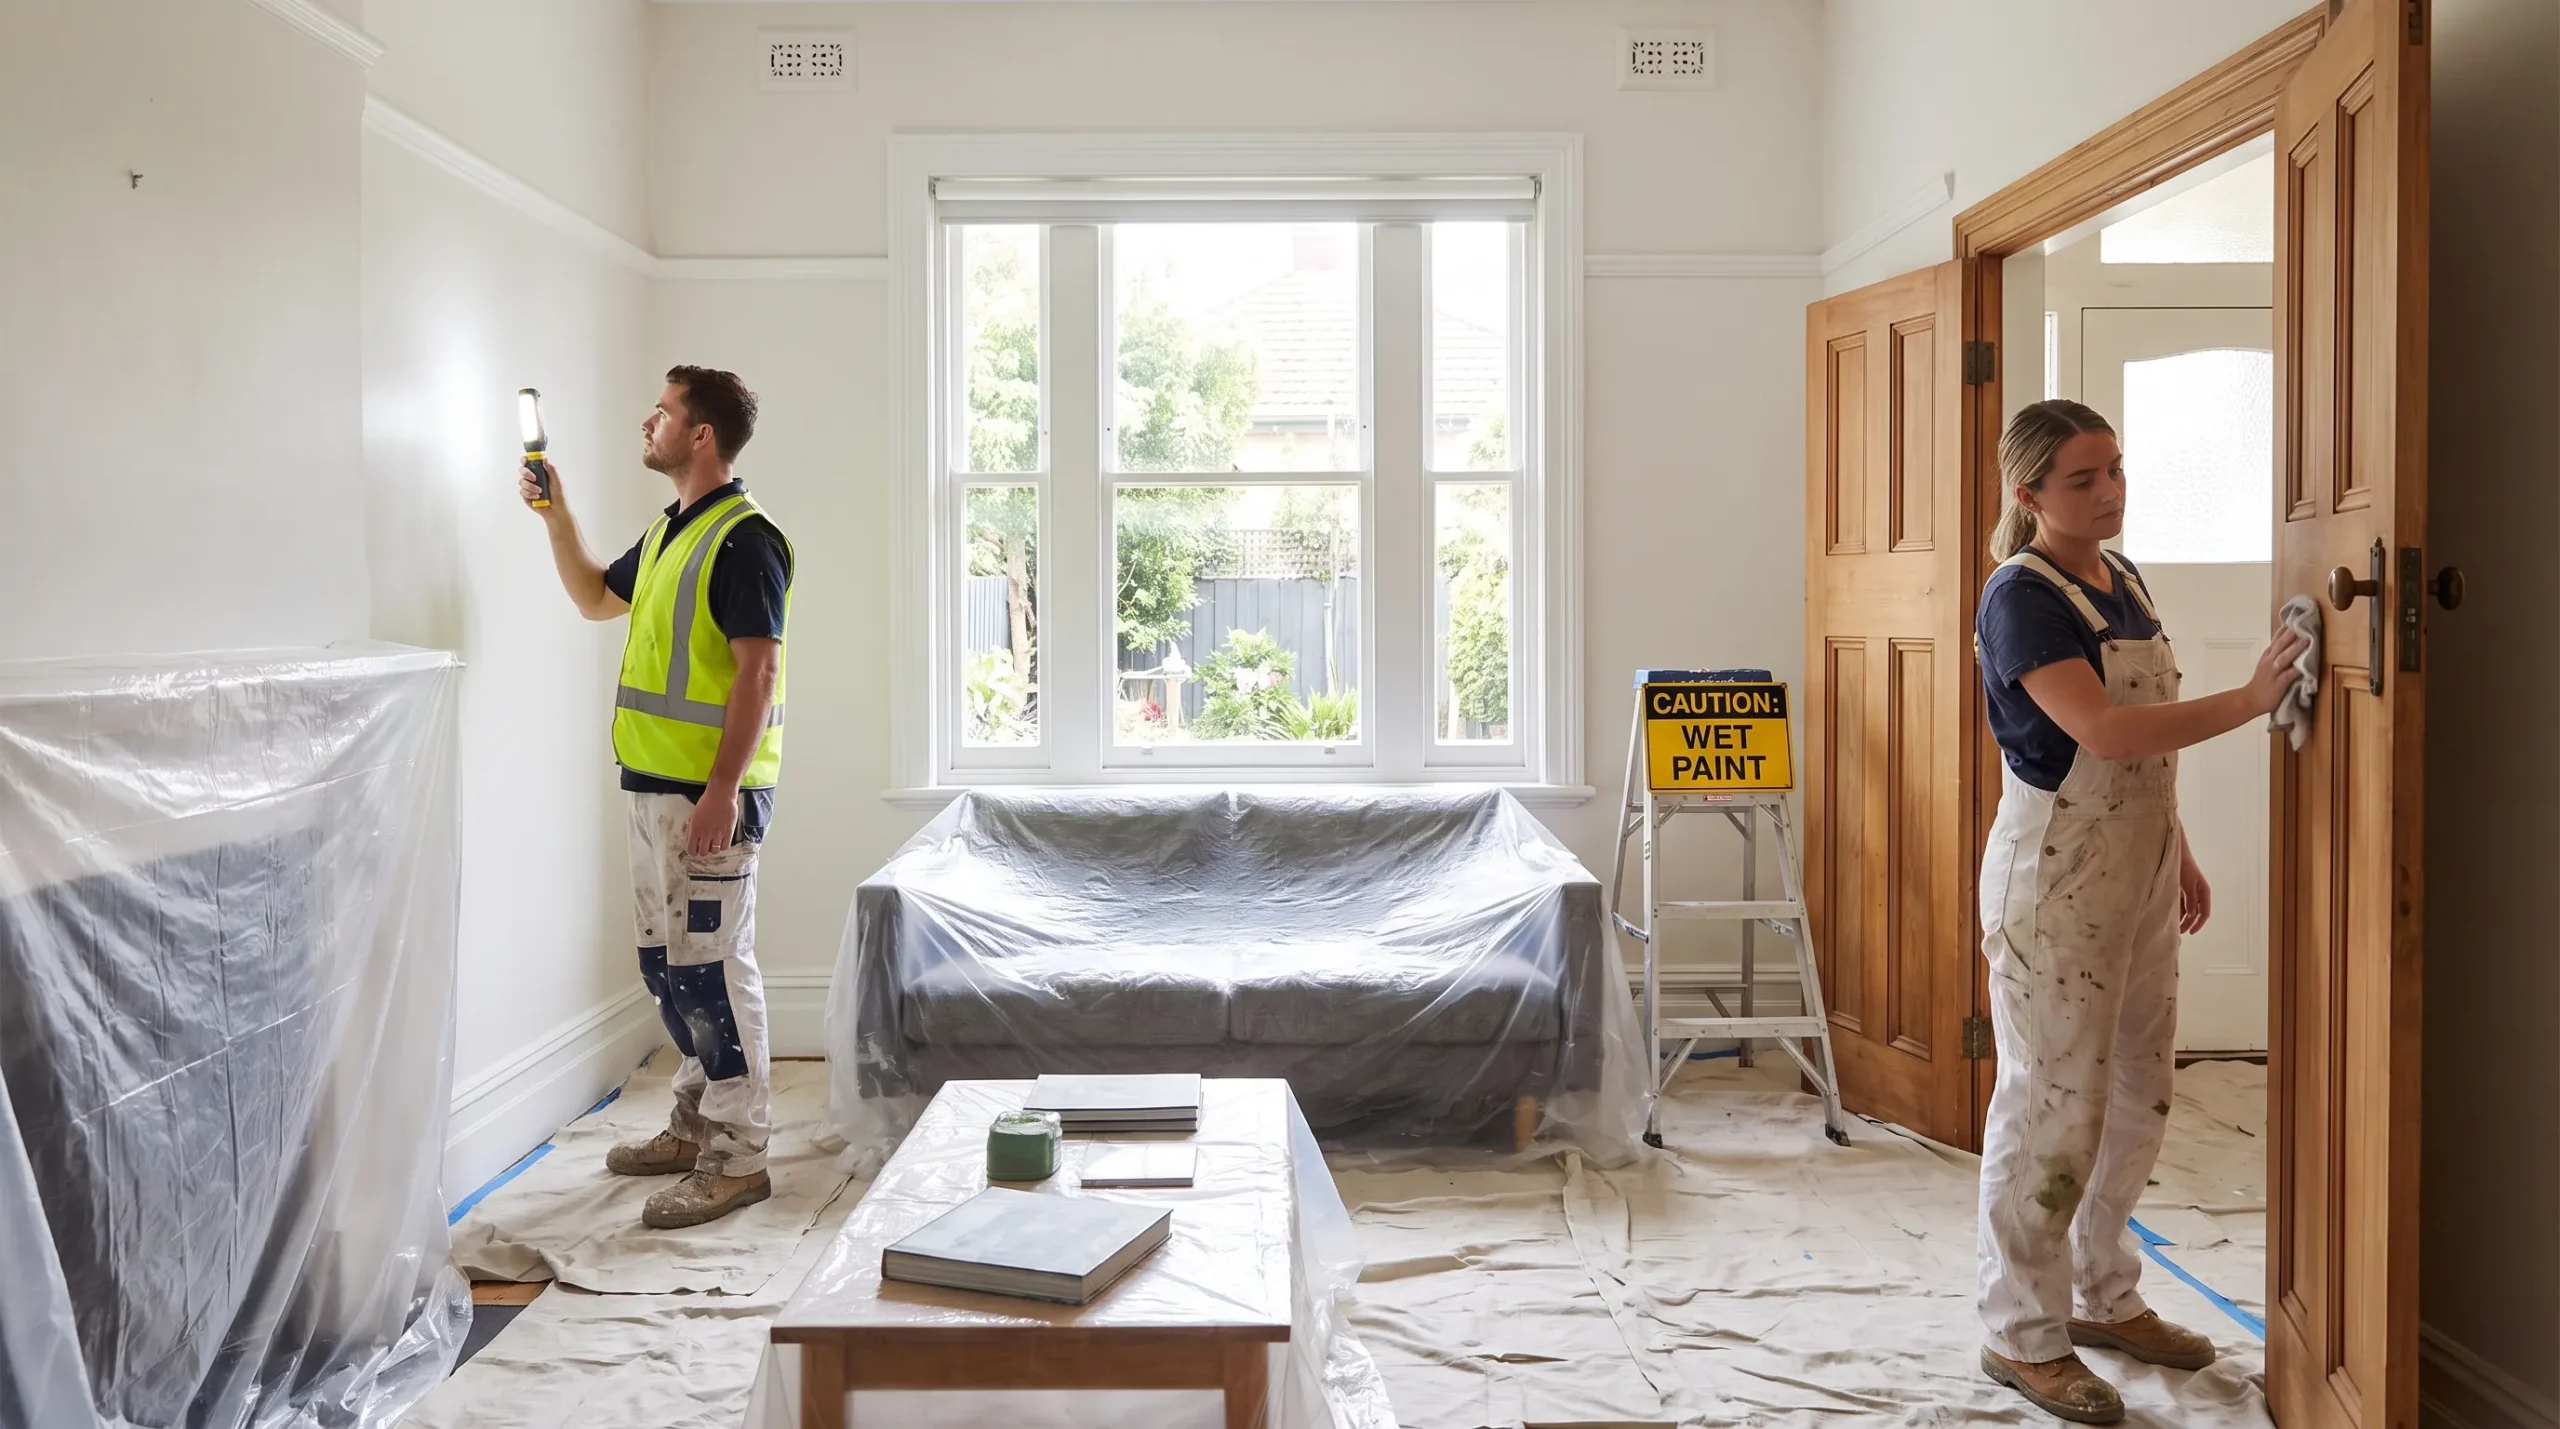
A final inspection should happen in good natural light where possible. Look along walls from different angles rather than only standing directly in front of them. Check corners, edges, trims, patched areas, doors, window frames and ceilings. Small touch-ups are normal, but they should be handled before furniture is fully moved back in.
A professional painting and finishing handover should also clarify curing time. Paint may be dry to touch within hours, but it can take longer to fully harden. During that period, avoid aggressive cleaning, leaning furniture against painted surfaces or placing items against freshly coated doors and trims.
A final walkthrough is one of the most useful safeguards in any renovation. Auspainters includes a final walkthrough as part of its painting process, along with clean workmanship, free quotations, full insurance, Dulux accreditation and a 5-year workmanship warranty.
When to hire professional painters instead of doing it yourself
DIY can make sense for a small bedroom, a single feature wall or minor touch-ups if you have the time and patience. Larger renovations are different. High ceilings, exterior access, damaged substrates, tight deadlines and multiple finishes can quickly turn a simple idea into a stressful job.
If your renovation involves the whole home, a commercial space or a combination of interior and exterior work, getting professional advice early can prevent expensive rework. You can also use Auspainters’ guide on questions to ask house painting contractors to compare quotes, warranties, preparation standards and site protection before you choose a team.
Frequently Asked Questions
What is the most important step in painting a renovation? Surface preparation is usually the most important step. Cleaning, filling, sanding and priming where needed help the new coating bond properly and create a smoother final result.
How many coats of paint does a renovation usually need? Most repainting projects need two finish coats, but bare surfaces, strong colour changes and stained areas may also need primer or extra coats. The right system depends on the substrate and paint product.
Should I paint before or after new flooring is installed? It depends on the renovation sequence. Many projects complete major wall and ceiling painting before final flooring, then return for careful touch-ups. If flooring is already installed, it must be protected properly.
What paint sheen is best for a family home? Low sheen is a popular choice for living areas because it balances appearance and cleanability. Wet areas, trims and doors often need more washable or harder wearing finishes.
Can exterior painting be done during winter in Melbourne? It can be done when conditions suit the product requirements, but cold, damp weather can slow drying. Always consider temperature, rain risk, surface moisture and recoat times.
Bring your renovation finish up to standard
A flawless renovation is built through planning, preparation and careful checking, not just a fresh colour. If you want a clean, durable result for your Melbourne home or commercial property, Auspainters can help with interior painting, exterior painting and commercial painting across Melbourne suburbs.
Request a free quote from Auspainters to discuss your project, coating options and the finish you want to achieve.