

A freshly painted wall can look good at first and still reveal peeling edges, visible patches or stains later. The difference often lies underneath the finish. Before opening a tin of paint, professional house painters assess the surface, deal with contamination and damage, then select preparation products suited to the wall.
For Melbourne homeowners, understanding that process makes it easier to compare quotes and recognise shortcuts. Proper preparation is not simply “a quick sand”. It is a sequence of checks and repairs, with drying time between the stages that need it.
Inspect the walls before deciding what they need
Preparation starts with identifying the surface: previously painted plasterboard, solid plaster, masonry or another material. Each behaves differently, and the existing coating matters as much as the wall underneath.
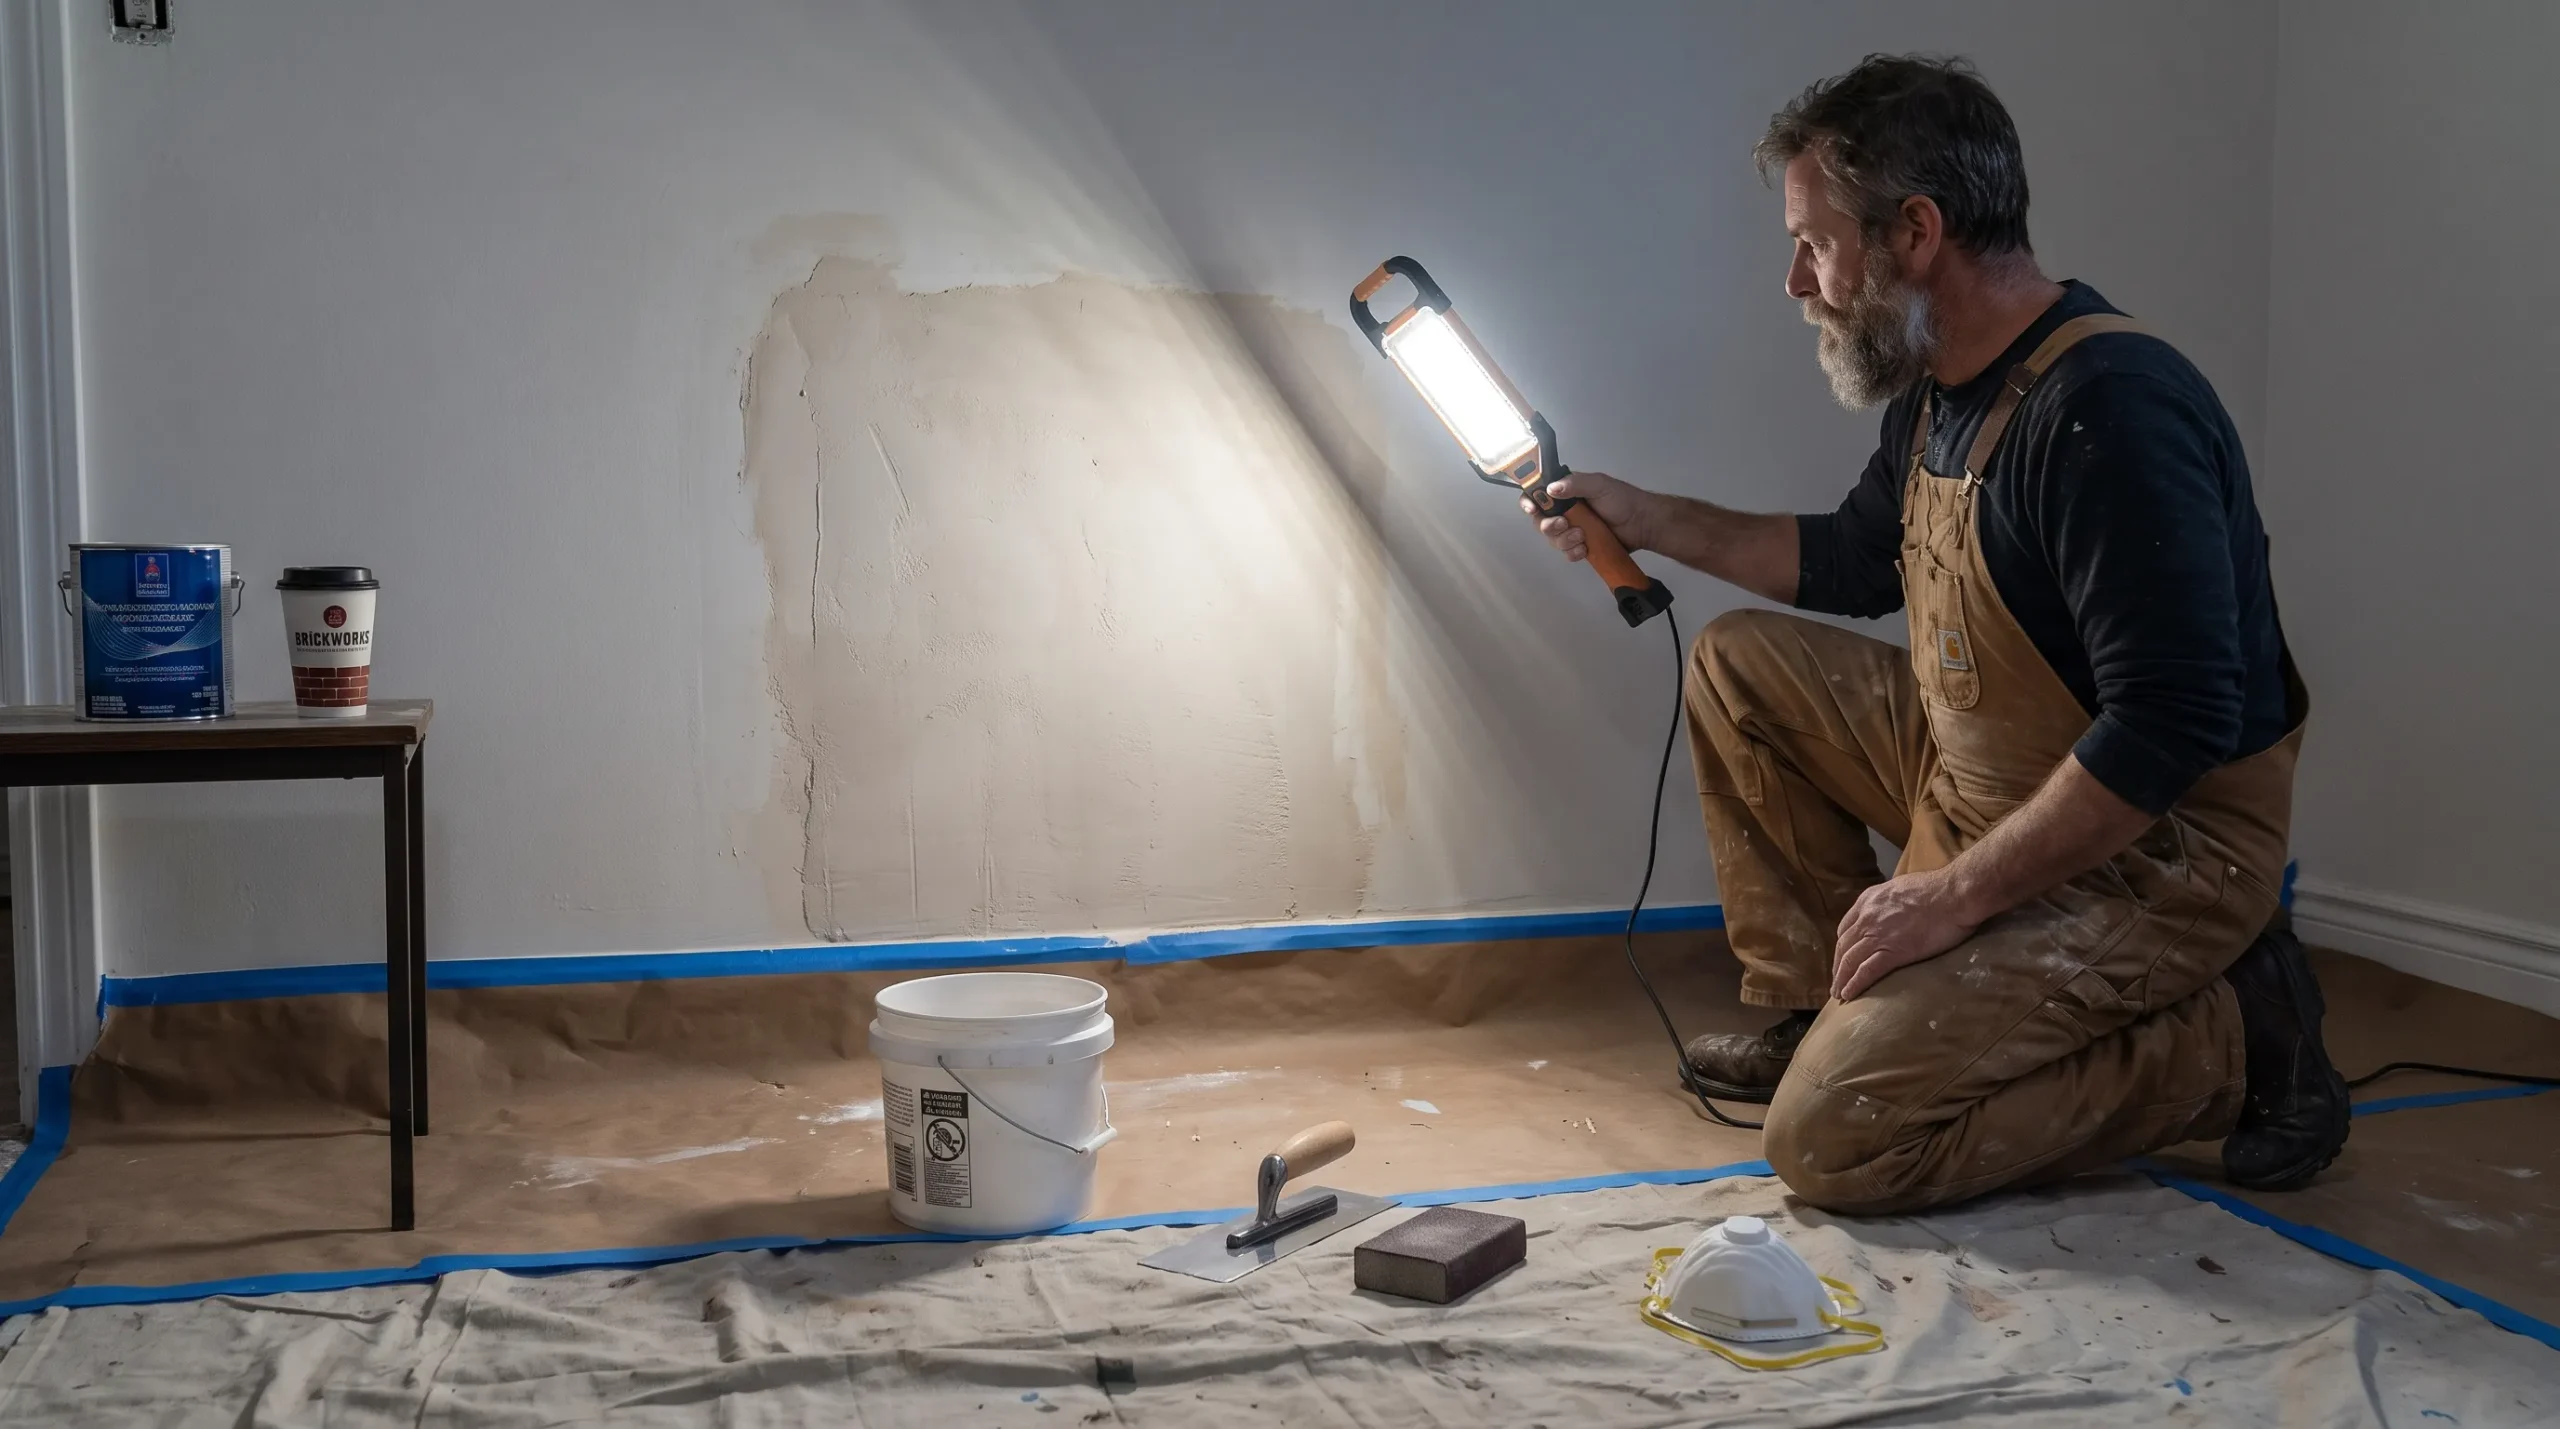
A painter should inspect under good lighting, including light directed across the wall. This helps reveal raised repairs, dents, cracks and roller texture that overhead lighting can hide. Particular attention belongs around windows, skirting boards and wet areas, where movement or moisture may leave early signs of trouble.
The assessment should distinguish cosmetic damage from problems that painting cannot fix. A small, stable dent may need filler. Recurring cracks, soft plaster, bubbling paint or damp patches need further investigation before they are covered.
Experienced professional house painters use this inspection to define the preparation scope rather than assume every wall needs the same treatment. Homeowners should receive an explanation of which defects can be repaired within the painting work and which need another trade.
Check older materials before disturbing them
Older paint layers may contain lead, while some wall linings and textured finishes may contain asbestos. Suspect materials should be assessed before sanding, scraping or drilling. The Australian Government’s asbestos guidance is a useful starting point for understanding asbestos risks.
Ordinary dust control is not a substitute for hazardous-material assessment. If there is uncertainty, preparation should pause until the material and safe work requirements are established.
Protect the property and complete other repairs first
Before cleaning or sanding begins, furniture should be moved clear of the work area and floors protected with suitable coverings. Masking protects adjoining finishes, but tape alone does not protect a room from sanding dust.
Switch plates, fittings and nearby surfaces also need a clear protection plan. Any work involving electrical disconnection belongs with a licensed electrician, not an improvised painting preparation step. For occupied rooms, discuss access and furniture movement when arranging interior house painting.
Professional house painters also need other repair work completed in the right order. Fixing a leak after patching a wall, for example, can mean doing the preparation twice. Plumbing repairs, damaged window frames and loose fixtures should be addressed before the final surface work.
Garage renovations need the same coordination. For a property in Topsfield, Massachusetts, an owner might arrange garage door repairs before the surrounding wall reveals are finished. Melbourne homeowners should likewise use a local garage-door technician for faulty springs, cables or openers rather than leave mechanical repairs until after painting.
Clean the surface before filling or sanding
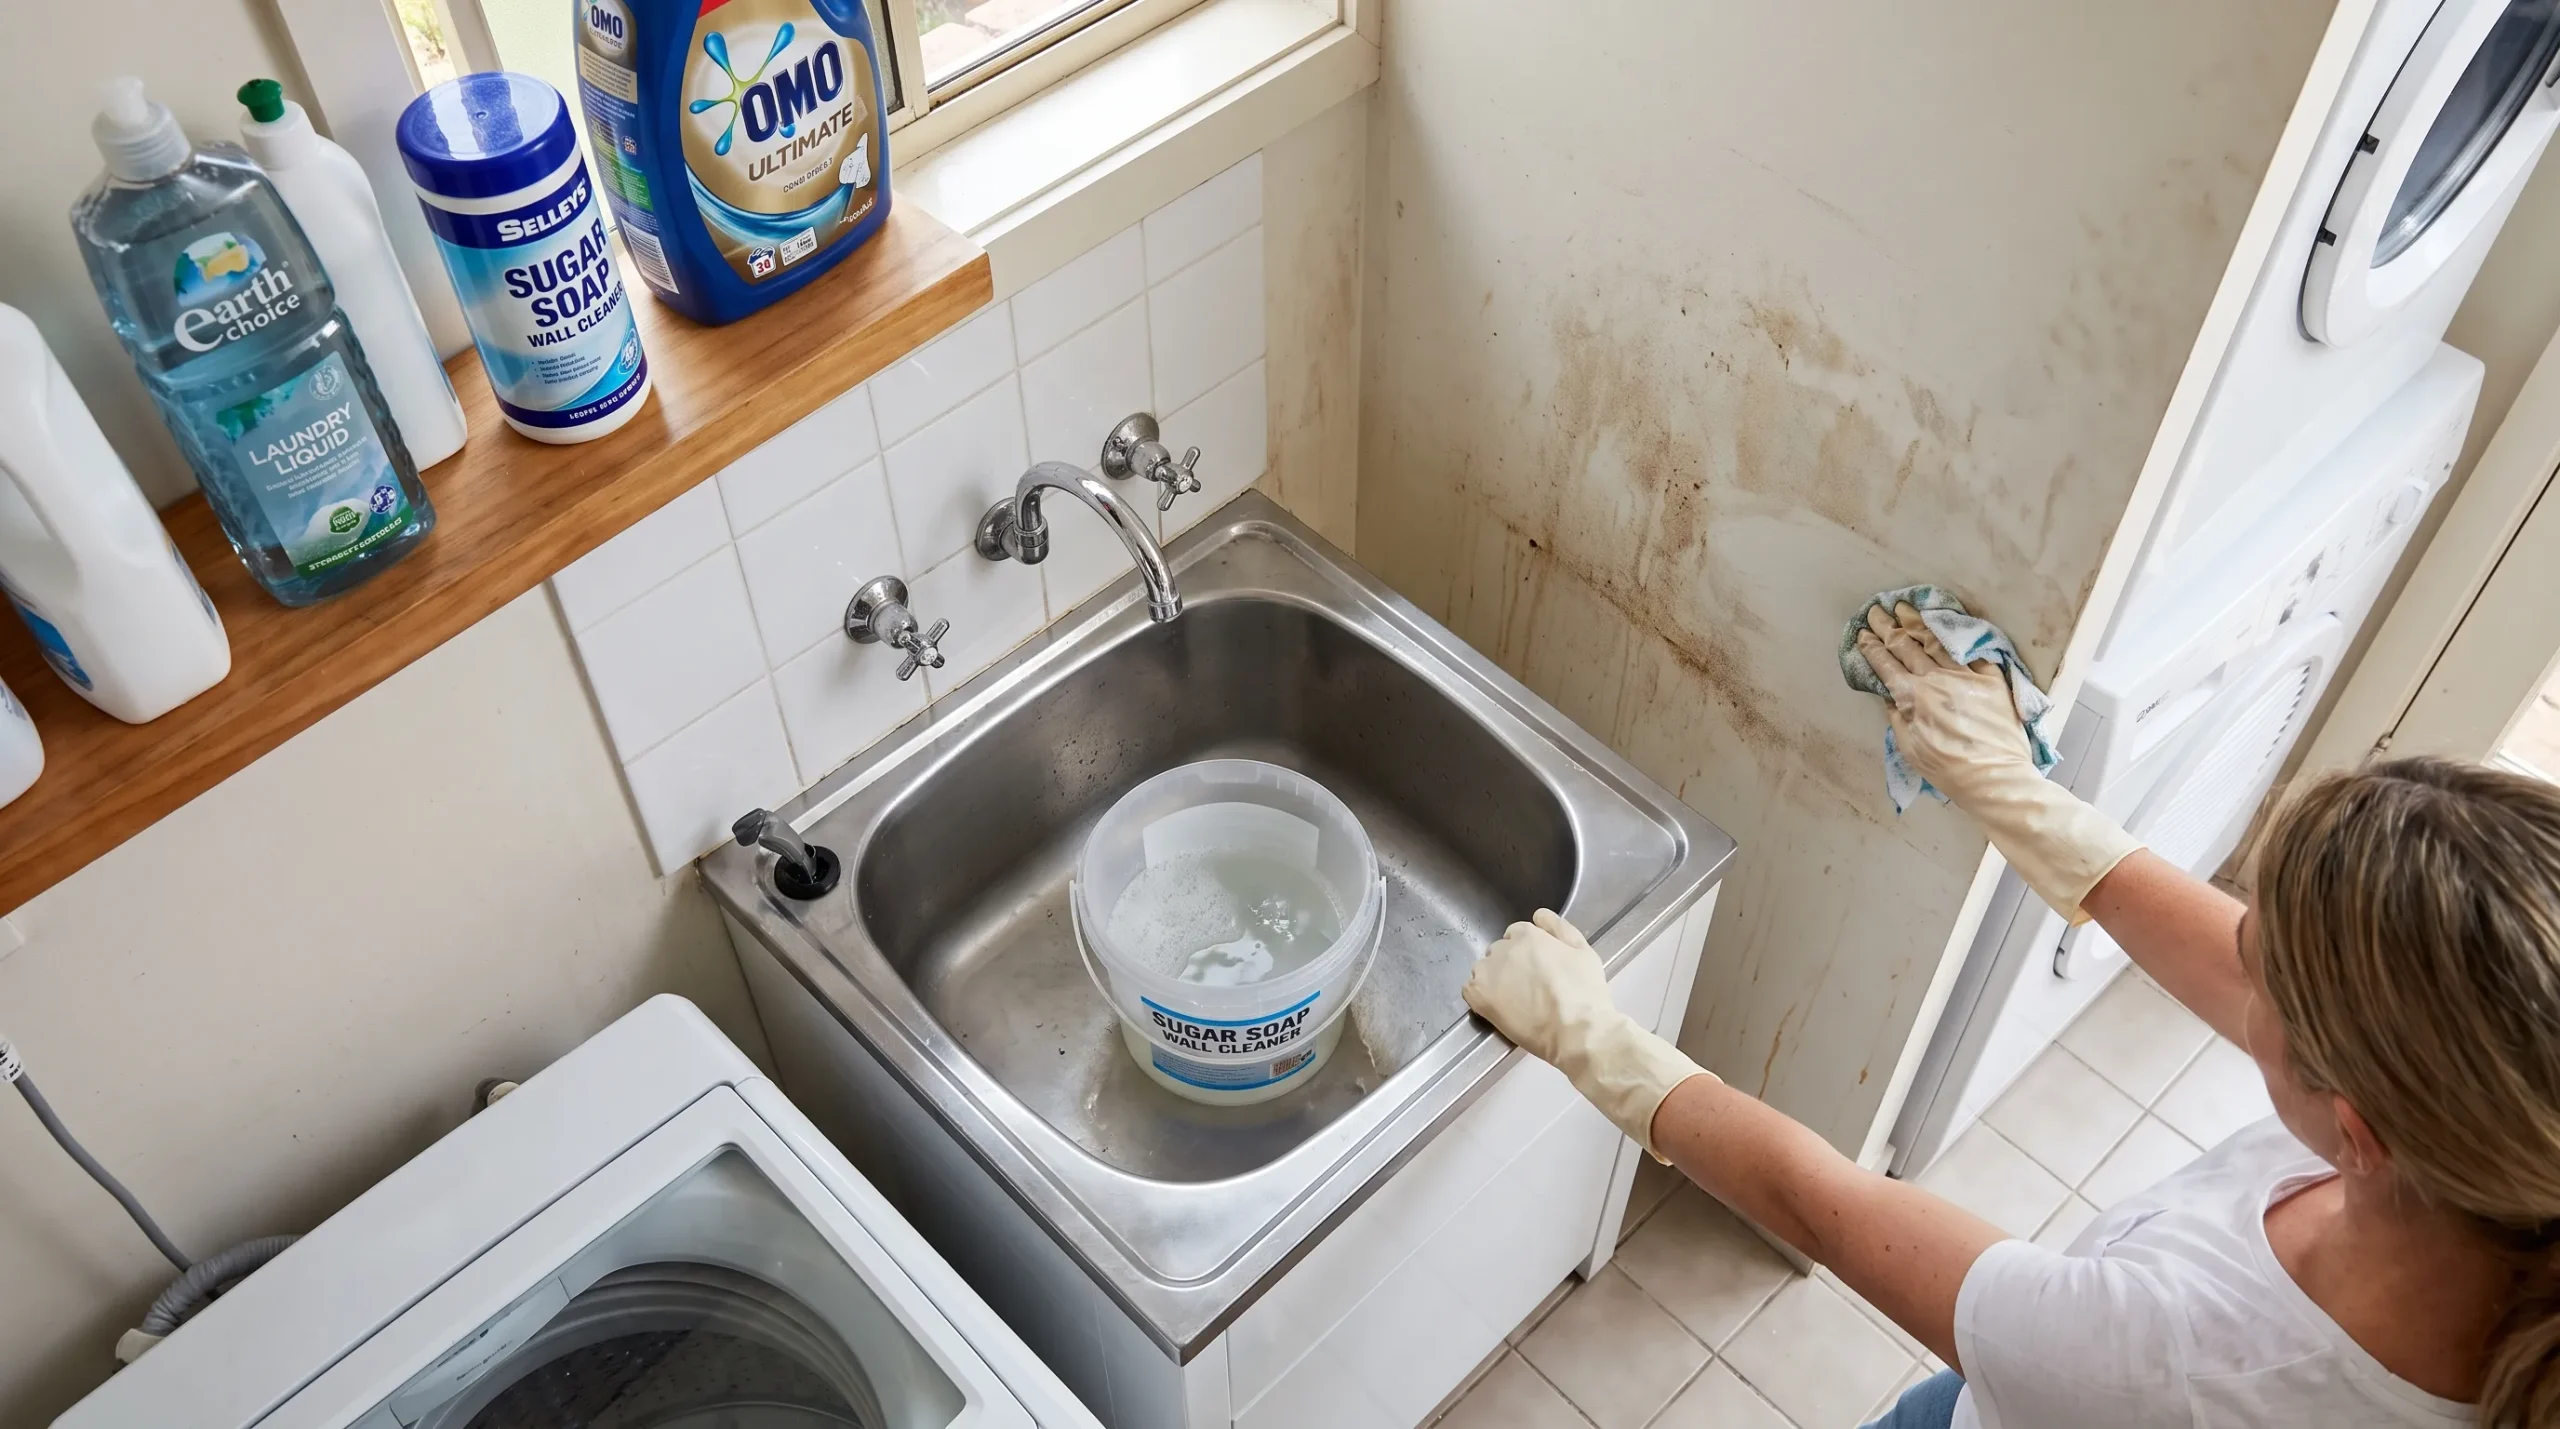
Paint needs a clean, sound surface to adhere properly. Kitchen grease, bathroom residue, hand marks and general grime can interfere with adhesion even when a wall looks reasonably tidy.
Cleaning should suit both the contamination and the existing finish. A painter may use a suitable wall cleaner or degreaser, following its instructions for dilution, rinsing and drying. Cleaning residue must not become another layer between the wall and the new coating.
Sanding a greasy wall first can spread contamination or work it into the surface. That is why professional house painters generally remove contamination before moving on to mechanical preparation.
Mould needs separate attention. Painting over visible mould does not resolve the moisture conditions supporting it. The cause could involve condensation, a leak or another building issue. Extensive or recurring growth warrants appropriate assessment and treatment before repainting.
Repair defects according to their cause
Once the wall is clean and dry, loose coating and unsound material can be removed using methods appropriate to the surface and any identified hazards. Filler should not be applied over paint that is already lifting.
Small dents and nail holes need a suitable filling compound. Deeper damage may require staged filling, while failed plasterboard joints may need proper joint repair rather than a smear of filler. Stable gaps at suitable junctions may require paintable flexible sealant instead of rigid filler.
Cracks that keep reopening need their cause investigated. Simply applying more filler can hide the symptom without resolving movement underneath.
Sand repairs into the surrounding wall
A filled hole is not ready for painting just because it feels hard. The repair needs to blend into the surrounding surface without a raised edge or hollow centre.
Painters sand cured repairs to feather their edges, then inspect them under angled light. Larger repairs may need another application of compound before they become sufficiently even. Trying to level a deep defect with one thick layer can create extra drying and shrinkage problems.
On sound, previously painted walls, sanding may also be needed to remove nibs or dull a glossy surface. Professional house painters choose the abrasive and method for the coating and substrate, rather than aggressively sanding every wall. Any hazardous-material concerns must already have been resolved.
Dust removal follows sanding. Suitable extraction and careful cleaning prevent fine particles from being trapped beneath primer or paint. A dusty wall can undermine the adhesion that all the earlier preparation was intended to achieve.
How professional house painters choose the right primer
Primer selection follows the condition of the wall, not a rule that every room needs an identical undercoat. A sound, compatible existing finish may not require full priming, while exposed or problematic areas often do.
The product’s technical instructions should guide surface preparation, compatibility and drying times. A general-purpose primer is not automatically suitable for every stain or difficult substrate.
| Wall condition | Preparation consideration | Possible priming approach |
|---|---|---|
| Bare plasterboard or new plaster | Confirm the substrate is ready, dry and free of dust | A compatible plasterboard or plaster sealer |
| Filled holes and repaired patches | Sand smooth and remove dust | Spot-prime repairs to help control uneven absorption |
| Water marks or other persistent stains | Fix the source and allow the wall to dry | A suitable stain-blocking primer |
| Sound glossy paint | Clean and prepare for adhesion | An adhesion primer if required by the coating system |
| Previously painted masonry | Remove loose material and assess moisture or chalking | A masonry-compatible system suited to the remaining surface |
Spot-priming repairs helps reduce differences in absorption, but it does not guarantee that every patch will disappear. Texture, sheen and the extent of repairs also affect the finished appearance. A heavily patched wall may need more extensive treatment.
Professional house painters should also recognise the limits of a coating system: primer cannot stabilise crumbling plaster, repair water ingress or make loose paint sound.
Allow drying time and check the wall again
Drying is part of preparation, not downtime that can always be shortened. Cleaned walls, filler, sealants and primers each need appropriate conditions before the next stage begins.
Melbourne’s cool or damp periods can slow drying, particularly in poorly ventilated rooms. Exterior walls also need protection from unsuitable weather and condensation. Product instructions should determine acceptable conditions and recoat times rather than a fixed promise that every room will be ready within a certain number of hours.
Before topcoating, the painter should inspect the surface again. Priming can make small defects easier to see, so a final fine fill, sand and spot-prime may still be necessary.
A wall is ready when it is sound, clean, dry and sufficiently even for the agreed finish. Preparation does not automatically mean restoring every existing wall to a perfectly flat, newly plastered condition. That level of work needs to be discussed and included in the scope.
Check that wall preparation is included in the quote
“Prepare and paint walls” leaves plenty open to interpretation. A useful written quote explains the expected repairs and the limits of the work, particularly where walls have extensive damage or an uncertain coating history.
When comparing professional house painters, ask how their price accounts for the actual condition of your walls. A lower quote may cover minor filling only, while another includes joint repairs, stain treatment or broader surface levelling.
Useful points to clarify include:
- Cleaning and protection: Which surfaces will be cleaned, what will be protected and who moves large furniture?
- Repairs: Are cracks, failed joints, loose coatings and damaged plaster included, or priced separately?
- Priming: Which areas need sealing, adhesion treatment or stain blocking?
- Unexpected damage: How will concealed problems be documented and approved before extra work proceeds?
- Finish expectations: Will existing texture remain, and how will repaired areas be checked before topcoating?
Keep a record of known defects and agree on any exclusions before work starts. At the final walkthrough, check repaired areas and edges under normal room lighting, using the agreed scope as the reference.
Frequently asked questions
Do painters need to sand every wall? Not necessarily. Sanding depends on the wall’s condition, existing sheen and proposed coating. Repairs, rough areas and glossy finishes may need attention, but indiscriminate sanding can create unnecessary dust or damage.
Should every wall receive a full coat of primer? No. Sound, compatible painted surfaces may only need localised priming where repairs expose absorbent material. Bare substrates, widespread repairs, stains or adhesion concerns can require a different approach.
Can painters paint over water stains? Only after the moisture source has been resolved and the surface is sufficiently dry. Professional house painters may then use an appropriate stain-blocking primer to help prevent the mark bleeding through the new finish.
How much does wall preparation add to the price? There is no reliable flat amount. Cost depends on the extent of repairs, access, contamination, substrate condition and drying requirements. A site inspection and itemised scope are more useful than a generic per-room allowance.
Will paint hide dents and uneven patches? Paint does not level a damaged wall. Higher-sheen finishes and strong side lighting can make defects more noticeable, so the required repair standard should be agreed before painting.
Discuss preparation before choosing your painting quote
Auspainters provides residential and commercial painting across Melbourne, with free quotations, a five-year workmanship warranty and a final walkthrough.
When you request a quote from Auspainters, point out recurring cracks, stains and previous repairs. Ask what preparation is included and whether any problems need attention from another trade first. A clear scope helps you compare the work being offered, not just the final price.