
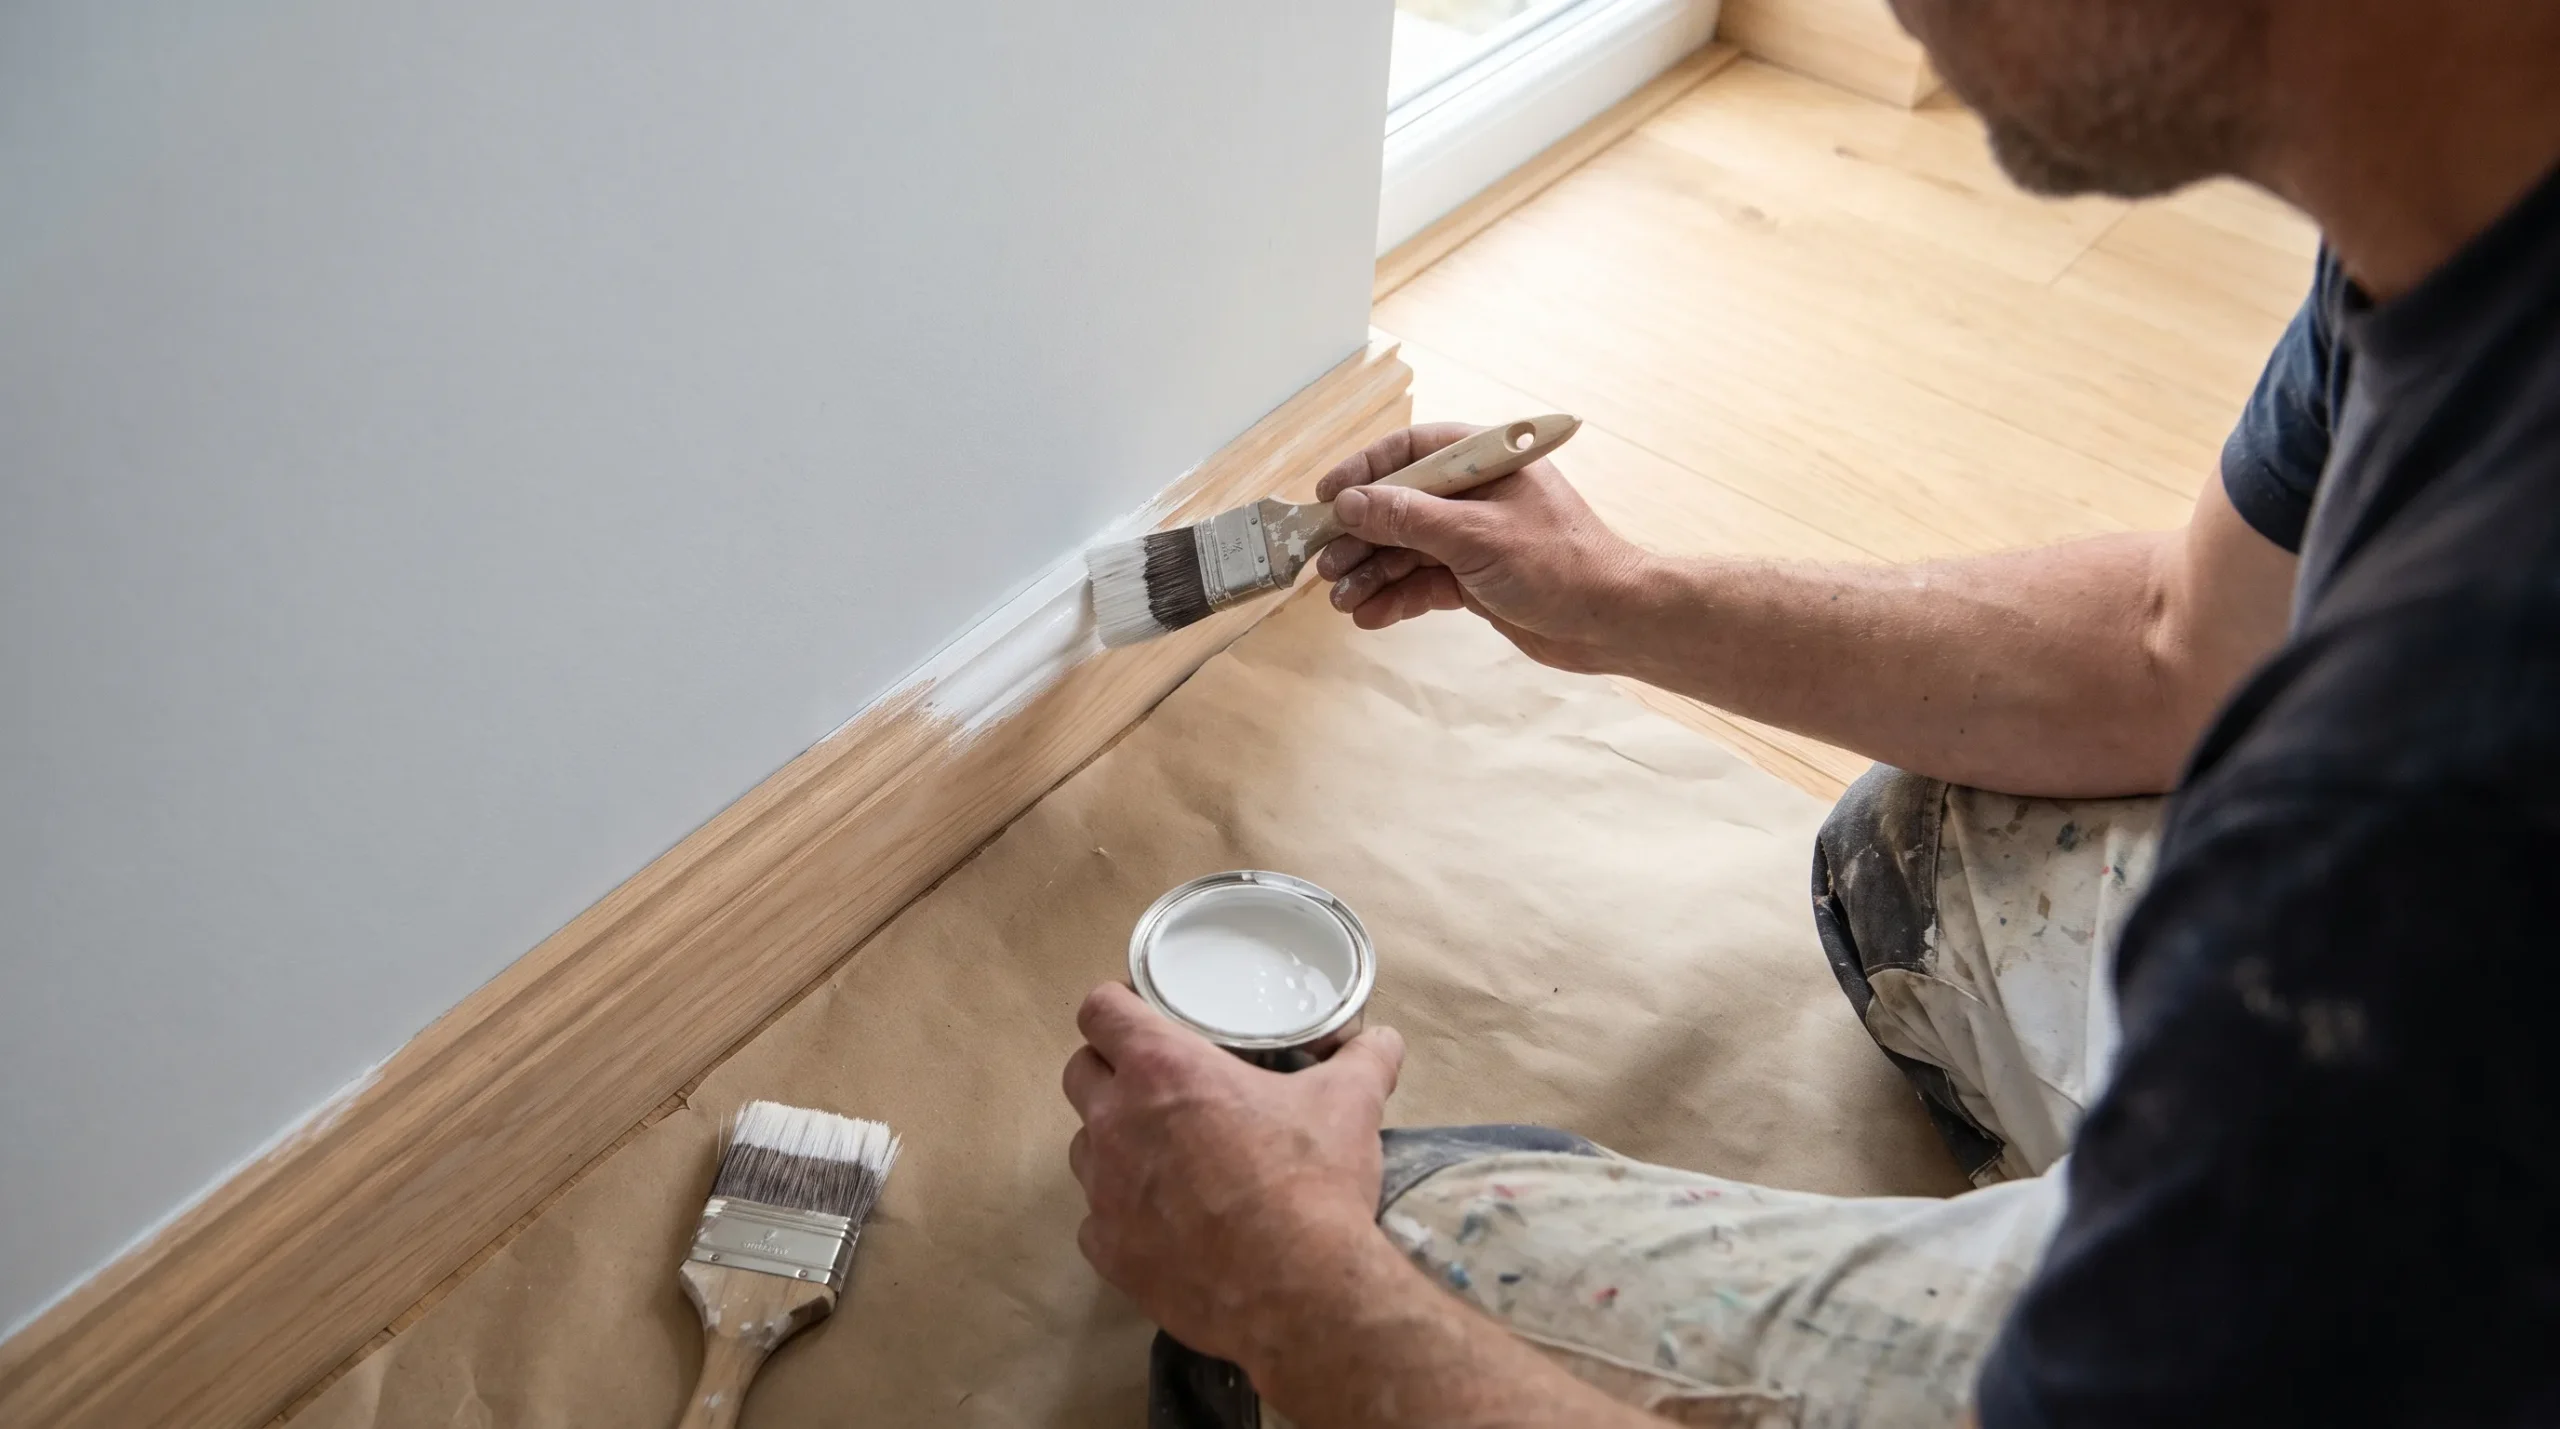

If you’re painting house interior walls and replacing the floors, do most of the painting before the new flooring goes in, then allow for targeted touch-ups afterwards. This reduces the risk of paint splashes on your new floor without pretending installers can work without ever marking a wall.
There are exceptions. Timber floors that need sanding and on-site finishing create different scheduling demands from carpet or floating boards. New skirting boards also change the sequence because they often cannot be finished until the flooring is installed.
For a Melbourne renovation, the most useful approach is to separate dirty preparation, main painting, flooring installation and final finishing. Agree on those stages with both trades before either starts, especially if you’ll be living in the house throughout the work.
Painting house interior walls: the usual sequence
For a straightforward flooring replacement, use this order as a starting point rather than a fixed rule for every material:
- Confirm the scope: Decide which floors, skirtings, door trims and wall surfaces are staying, being repaired or being replaced.
- Complete demolition and dusty work: Remove old flooring where required, assess the subfloor and complete electrical, plastering or other disruptive work.
- Prepare and paint: Clean surfaces, repair damage, sand safely, prime where needed and paint ceilings followed by walls and any retained trim.
- Allow suitable drying time: Check the coating instructions before installers work near freshly painted surfaces.
- Install the flooring: Protect finished walls and coordinate skirting boards, transitions and door clearances.
- Finish and inspect: Paint new trim, repair installation marks and complete a joint walkthrough.
An old floor may offer some protection during early painting, but it should not hide problems that need attention. Where removal could reveal dampness, damaged boards or subfloor repairs, inspect those conditions before completing decorative work. Otherwise, fresh paint may need repairing when the underlying problem is addressed.
How the flooring material changes the order
The best schedule for painting house interior walls depends on how the floor is installed, not simply whether the finished surface is carpet, timber or tile.
Carpet: usually install it after the main painting
Finish ceilings, walls and retained skirtings before fitting carpet wherever practical. Paint spills are difficult to remove from carpet fibres, and painting close to a new carpet edge makes careful cutting-in harder.
Let the paint dry sufficiently before carpet installation. Installers may need to work close to skirtings, door frames and lower walls, so discuss protection beforehand and retain labelled paint for small repairs.
If skirtings are being replaced, arrange their installation and painting before the carpet is fitted where the construction details allow it. Keep final touch-ups localised rather than reopening the whole room as a painting site.
Prefinished timber, laminate and hybrid: paint first, finish trim later
These floors arrive with their wearing surface already finished. Completing most wall and ceiling painting first avoids unnecessary exposure to rollers, ladders and sanding dust.
However, floating flooring often needs skirtings removed or an agreed edge treatment. New skirtings may therefore be installed and painted afterwards. Fixings and edge details must preserve the flooring manufacturer’s expansion requirements; skirtings should not pin a floating floor in place.
Ask the installer about acclimatisation, room conditions and when protective coverings are permitted. Requirements differ between products, so one timetable will not suit every floor sold as “timber-look”.
Sanded timber and tiles: allow for work after the dusty stages
Existing timber that needs sanding and recoating requires closer coordination. Complete major wall repairs first, then agree with the floor contractor when sanding, coating and final wall painting will happen. Sanding dust should not settle onto wet paint, and painters should not return onto a newly coated floor before access is permitted.
With tiles, cutting, adhesive, grout and associated building work can dirty or mark lower walls. Ceiling painting and substantial wall preparation can happen earlier, while final lower-wall coats and trim work may be better completed after tiling and the relevant curing periods.
Decide the skirting details before booking trades
Skirting boards are often the reason painting house interior walls cannot be completed in a single visit. Their removal can expose unpainted strips, torn plasterboard paper or gaps that need repair.
Before work starts, decide whether the skirtings will be retained, removed and refitted or replaced. Also confirm who is responsible for removal, carpentry, filling fixing holes, caulking suitable joints and painting.
| Skirting arrangement | Practical painting approach |
|---|---|
| Existing skirtings stay in place | Paint them before flooring where possible, then inspect for installation marks. |
| Existing skirtings are removed and refitted | Complete major wall work first, then repair and finish the refitted boards. |
| New skirtings follow hard flooring | Paint the main wall areas first and schedule a return visit for trim and adjoining repairs. |
| New carpet meets finished skirtings | Aim to finish the skirting paint before carpet fitting, allowing suitable drying time. |
Door frames and thresholds need similar attention. A different floor height can affect door clearance, so settle any trimming or carpentry before the final paint finish on affected doors.
Protecting new flooring during final painting
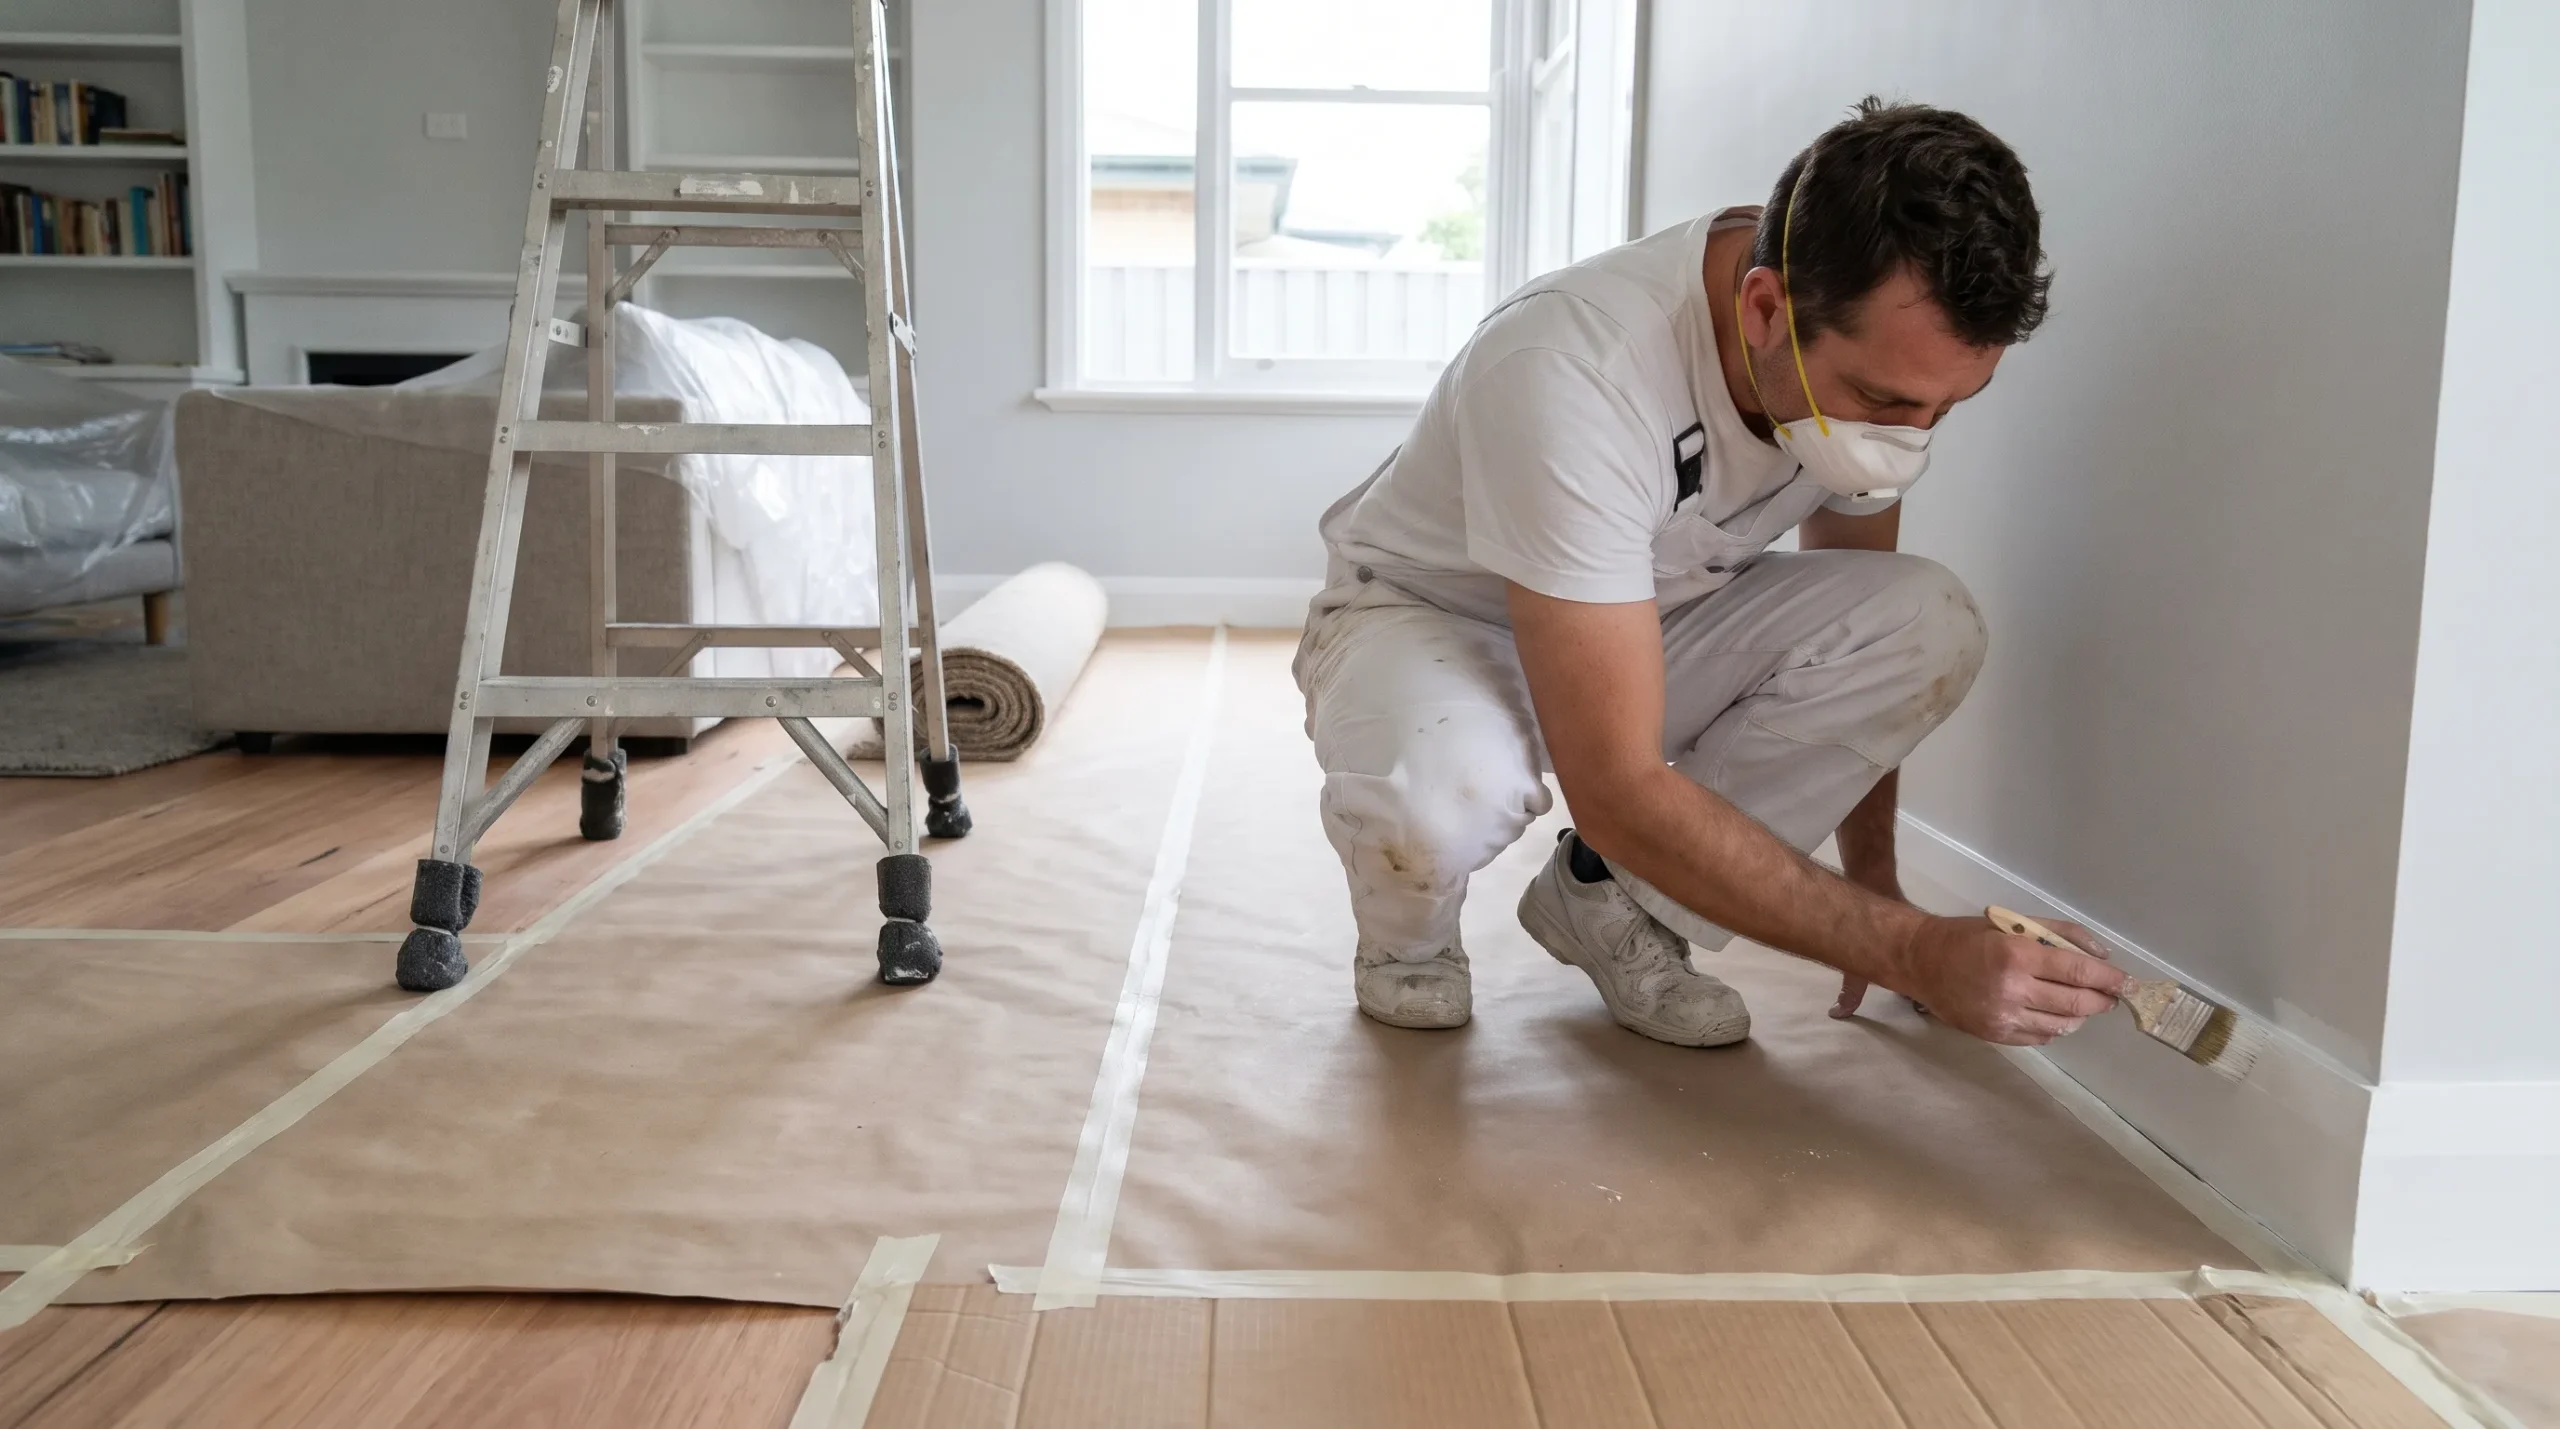
Painting house interior walls after flooring installation is manageable, but protection must suit the actual surface. A covering that works on established tiles may be unsuitable for freshly finished timber.
Dry to touch does not mean fully cured. Paint and floor coatings can remain vulnerable after they feel dry. Follow the relevant product instructions for recoating, foot traffic, coverings, cleaning and furniture replacement rather than relying on a universal waiting period.
Use clean, secure protection approved for the flooring. Remove grit before covering the surface, protect ladder feet and check that coverings cannot slide or create trip hazards. Avoid dragging ladders or equipment across the floor.
Do not assume masking tape is safe on a new floor or fresh wall paint. Adhesive can leave residue or lift a coating. Keep tape off finished surfaces where possible and follow the coating and tape manufacturers’ guidance where masking is necessary. Freshly coated timber may also be damaged by coverings that trap moisture or interfere with curing.
Build drying time and trade handovers into the schedule
A realistic programme for painting house interior walls includes time when nobody should be working in the room. Repairs must dry, coatings need their specified intervals and flooring may require acclimatisation or restricted access.
For one empty room with sound walls, the following is an illustrative planning framework, not a guaranteed completion time:
| Stage | Allowance to discuss with the trades |
|---|---|
| Removal and inspection | A separate work period to remove flooring and assess what is underneath. |
| Wall preparation | Often one or more visits, depending on repairs, drying and sanding requirements. |
| Ceiling and wall painting | Multiple work periods, with product-specified drying between coats. |
| Flooring installation | A booked installation window, plus any required acclimatisation or curing. |
| Final painting visit | Time for skirtings, installation repairs and inspection once access is safe. |
A room with extensive plaster repairs, dampness or a site-finished timber floor can take considerably longer than a simple repaint with new carpet. Cool conditions, humidity and limited airflow can also extend drying times in Melbourne homes.
For occupied houses, finish a complete work zone before opening another where practical. Auspainters’ guide to booking house painting in stages explains the convenience and extra setup considerations involved. Keep one safe route through the home and avoid scheduling flooring installers into a room where painting is still underway.
Deal with hazards and surface problems before either finish
The order of work matters less than correcting a problem that could damage both finishes. Painting house interior surfaces over unresolved dampness, for example, will not stop moisture affecting adjacent skirtings or flooring.
Investigate leaks and moisture sources before painting or laying floors. Mould-affected areas need the cause addressed and an appropriate remediation approach, not just a fresh coat. Bare plaster, exposed timber and repaired patches may also require different preparation and primers from sound, previously painted walls.
In older homes, have suspect lead-based coatings assessed before sanding or scraping. Older flooring, backing and adhesives may contain asbestos, so do not disturb suspect materials without assessment. Victoria’s asbestos guidance is a useful starting point for understanding the precautions involved.
Ventilate as directed by the coating manufacturer and use protective equipment suited to the task. Isolate the work area from children and pets. Aquariums, terrariums and ant farms also need a safe temporary location planned around their care requirements, rather than remaining beside dust and wet coatings. For occupied homes, these painting preparations for children and pets can help organise access and household routines.
What to include in the painting and flooring quotes
When comparing quotes for painting house interior walls alongside flooring replacement, check the handover arrangements as carefully as the price. A cheaper initial quote may not include the return visit needed to finish new skirtings.
The written scope should identify which ceilings, walls, doors and trims are included, what preparation is allowed for and who supplies floor protection. It should also state whether final installation touch-ups are included and how more substantial damage caused by another trade will be handled.
Agree on who removes and reinstalls skirtings, who cleans before each handover and when the painter can safely return. Avoid vague instructions such as “finish everything afterwards”, which leave both trades guessing about access and responsibility.
At the final walkthrough, inspect lower walls, corners, door frames and skirting joints in good light. If damage extends beyond a small mark, ask whether repainting to a natural break would give a more consistent finish than a spot touch-up.
Frequently asked questions
Should I paint before or after new carpet? Usually before. Complete the main wall, ceiling and skirting painting first, allow suitable drying time, then install the carpet. Reserve a small amount of matching paint for any installation marks.
Should timber floors be sanded before painting? Complete major wall repairs first, then coordinate sanding and floor coating with the final painting stages. Keep sanding dust away from wet paint and do not return onto a freshly coated floor until the floor contractor permits access and protection.
Can I finish all the painting before flooring installation? Sometimes, particularly when existing skirtings stay and installation is straightforward. However, painting house interior walls before flooring does not eliminate the possibility of scuffs, exposed edges or trim repairs. A planned inspection afterwards is still worthwhile.
How long should I wait before covering a new floor? Follow the flooring or coating manufacturer’s instructions. Prefinished boards, newly coated timber, tiles and carpet have different requirements. Ask specifically about protective coverings, tape, ladder use and furniture, not just walking access.
Get a coordinated interior painting quote
Auspainters provides residential painting across Melbourne, with free quotations, Dulux accreditation and a 5-year workmanship warranty. When requesting a quote, share your flooring type, installation dates and skirting plans so the painting scope can account for preparation, protection and any return visit.
Discuss those details before work starts to reduce avoidable rework and make the final walkthrough more straightforward.