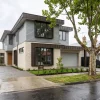

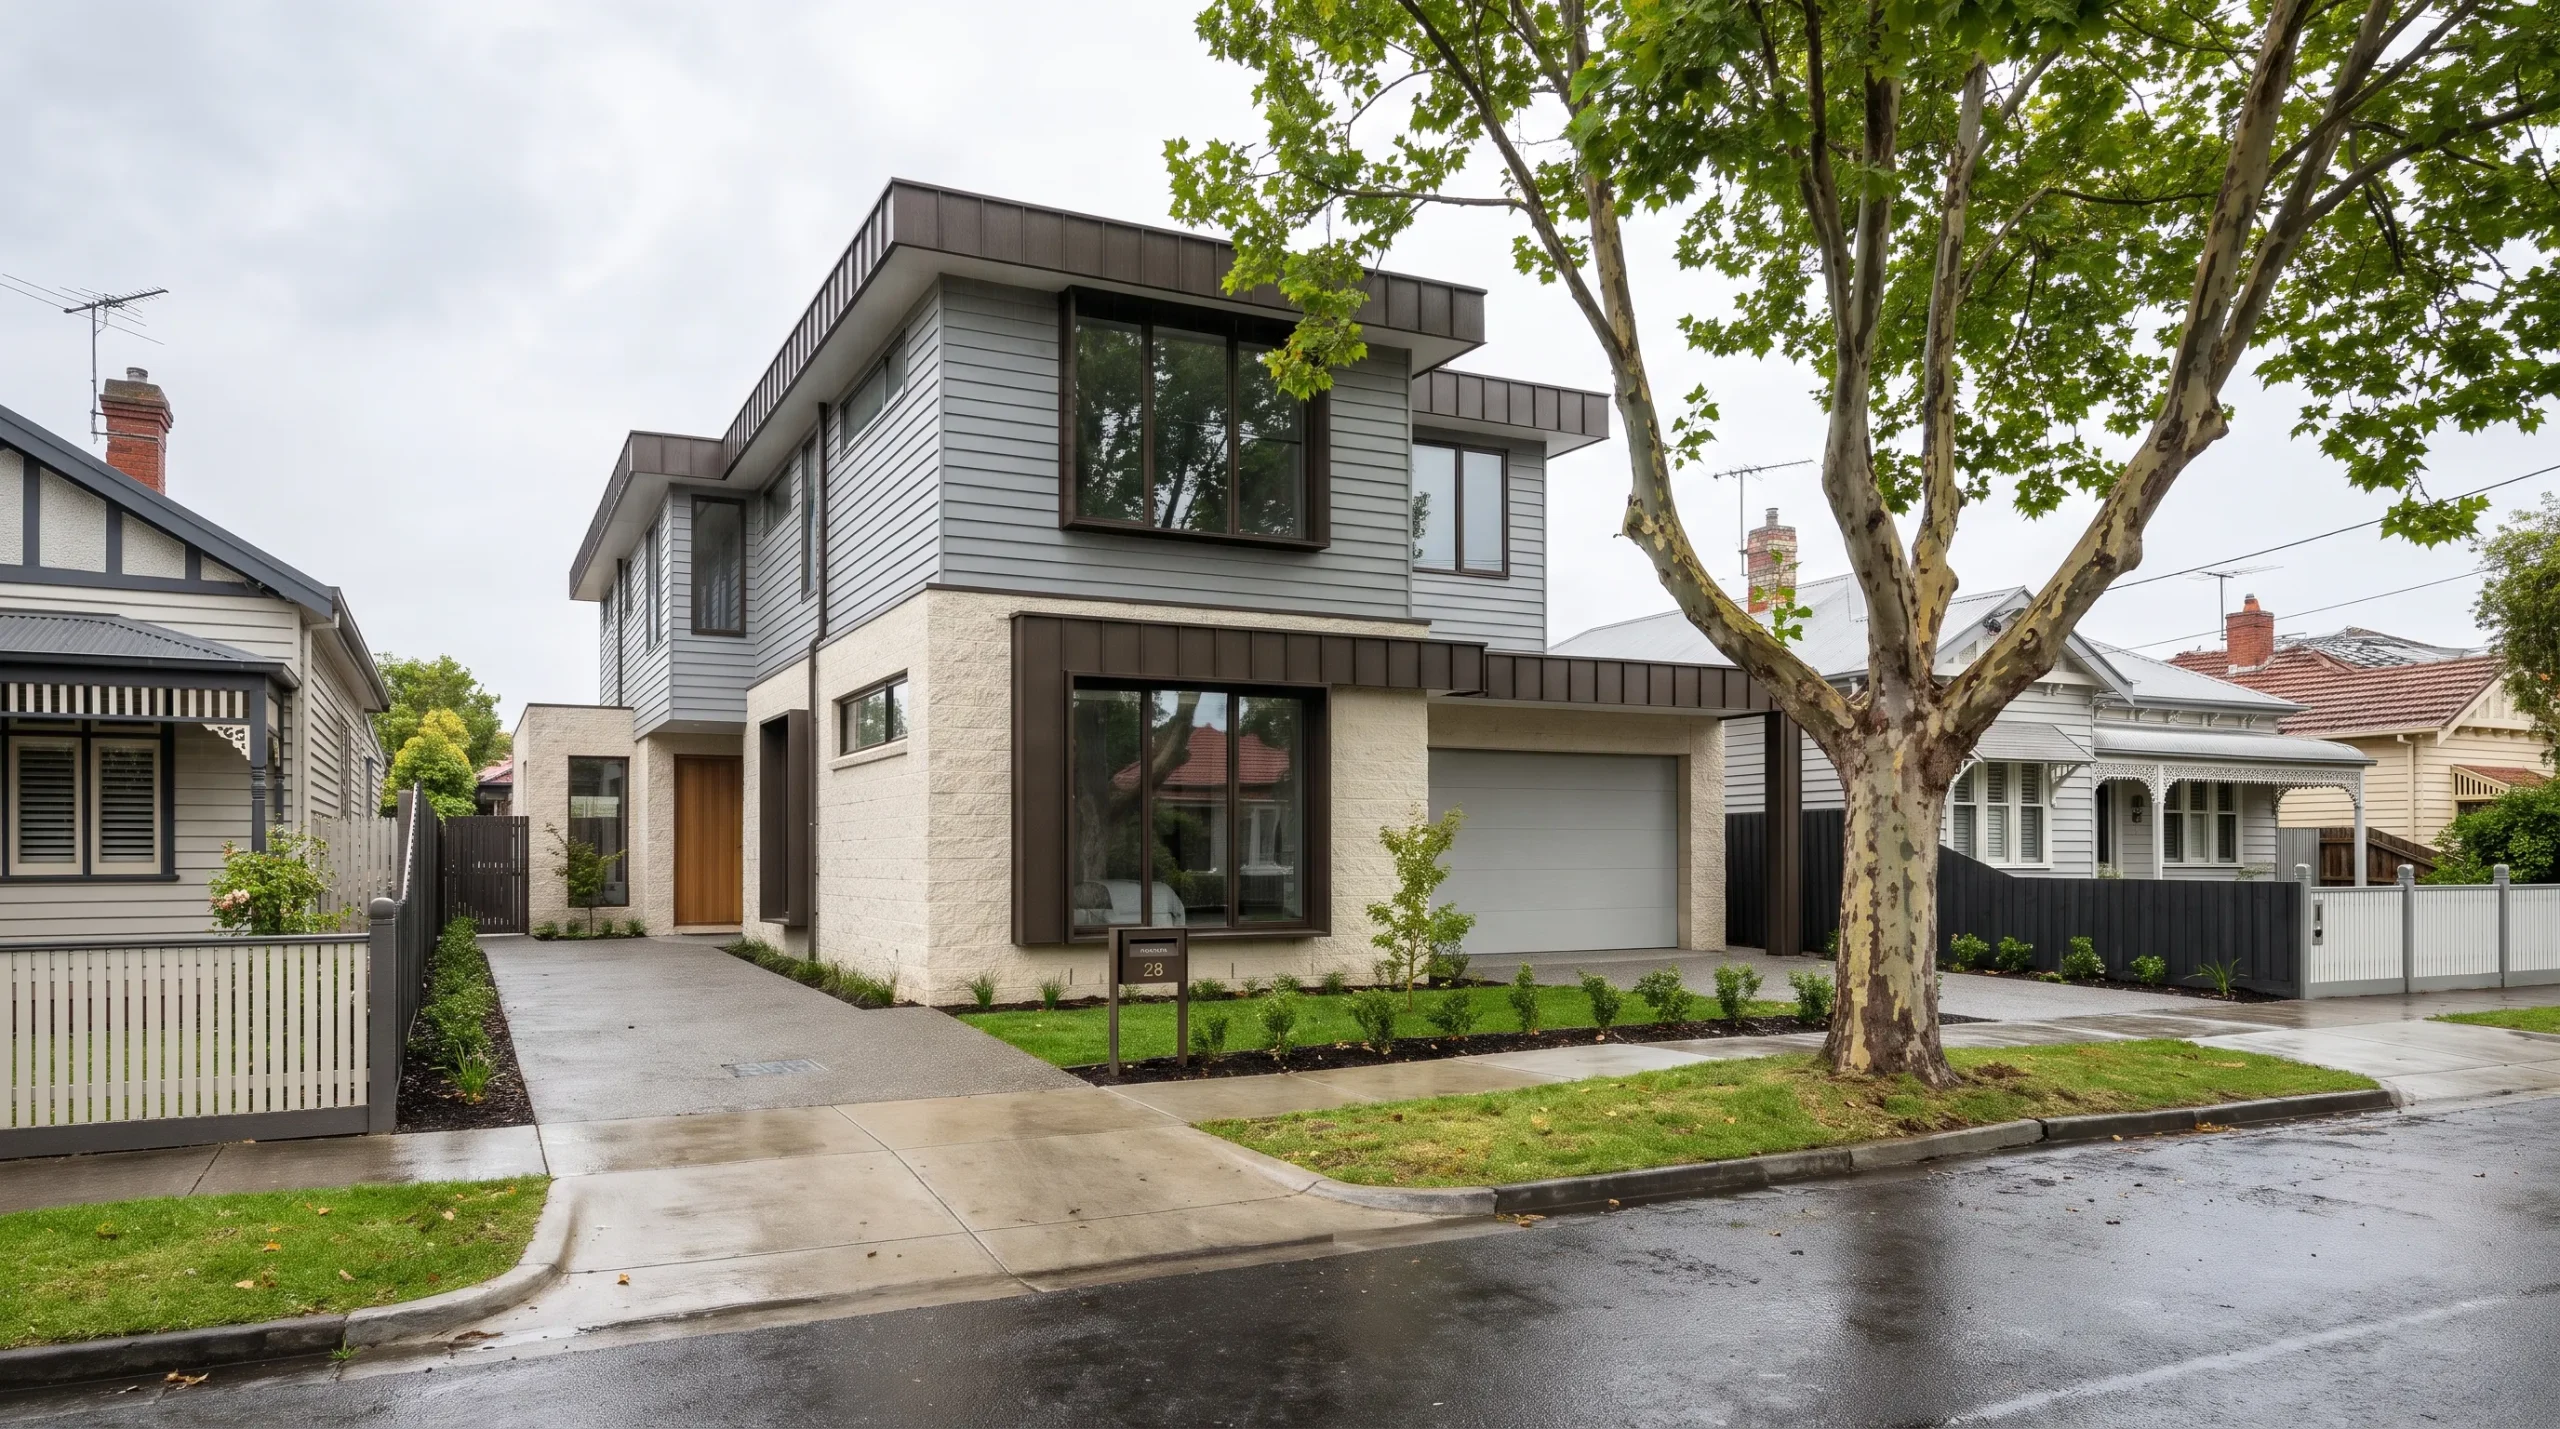

Painting outside of house walls does not always mean stripping them back to bare timber or masonry. You can paint over an existing finish if it is firmly bonded, clean, dry and compatible with the new coating. Loose paint, trapped moisture and unsuitable preparation are what usually undermine the result.
For Melbourne homeowners, the job also needs to account for changeable weather, safe access and potentially hazardous materials on older properties. Follow this sequence to decide what can stay, prepare the surface properly and apply a finish that has a sound base.
Step 1: Inspect the existing paint and find the cause of damage
Start with a visual inspection from ground level. Look closely at weatherboards, window frames, south-facing walls, exposed corners and areas beneath gutters. Do not scrape, sand or pressure-wash until you have checked for lead paint and asbestos.
Old paint can remain only where it is firmly attached. Painting over a weak layer simply adds another coating that can come away with it.
| What you notice | What it may indicate | What needs to happen |
|---|---|---|
| Firm paint with minor fading | Weathering without obvious coating failure | Clean, assess compatibility and prepare as specified |
| Peeling edges or loose flakes | Poor adhesion or moisture problems | Identify the cause and remove unsound paint safely |
| Blisters or recurring bubbles | Moisture, heat or application problems | Investigate before choosing a repair method |
| Powdery residue | Chalking or a deteriorated coating | Clean thoroughly and reassess the surface |
| Soft timber, open joints or persistent damp patches | Substrate damage or water entry | Repair the building defect before painting |
Check gutters, flashings and garden beds against walls. A leaking gutter or damp timber joint needs attention before a coating can perform reliably.
Check for lead paint and asbestos before disturbing surfaces
Older paint layers may contain lead. Asbestos-cement products may also be present in exterior cladding, eaves, soffits and other building components. Neither hazard can be ruled out by appearance alone.
Before painting the outside of a house with uncertain materials, arrange appropriate identification or testing. Victoria's asbestos safety guidance is a useful starting point for understanding where asbestos may occur and how it must be managed.
Do not sand, scrape, drill or pressure-wash suspected asbestos-containing materials. Stop work and seek advice from an appropriately qualified asbestos professional. Suspected lead coatings also need a controlled preparation and waste-management plan, particularly where children, neighbours or garden soil could be exposed.
The remaining preparation steps assume these hazards have been assessed and the surfaces are safe to work on. A basic dust mask and a drop sheet do not make hazardous paint removal suitable for DIY work.
Step 2: Confirm approvals, colours and the coating system
Check requirements before buying paint. Heritage controls may affect exterior changes, including colours, so contact your council if the property has a heritage overlay or other relevant restrictions. Owners corporation rules may apply to shared or externally visible surfaces, while tenants should obtain the landlord's written approval.
Choose colours against permanent features such as roofing, brickwork, paving and window frames. Test samples on different elevations and inspect them in sun and shade. For pale schemes, our guide to choosing white exterior paint explains how surrounding materials influence the result.
Select a coating system for each substrate, not just one paint for the whole building. Previously painted timber, masonry and metal can need different preparation and primers. Exterior acrylic paints suit many repainting jobs, but compatibility with the existing finish must be confirmed.
When painting the outside of a house, check the paint manufacturer's technical data for substrate suitability, primer requirements, coverage and application conditions. For uncertain coatings, ask the supplier about a trial area and an appropriate adhesion check after curing.
Step 3: Gather tools for painting outside of house walls
Your equipment should match both the surface and the access conditions. Typical supplies include suitable brushes and rollers, an extension pole, scrapers, sanding equipment with appropriate dust control, compatible filler, sealant, primer and exterior topcoats.
Also organise drop sheets, masking materials, eye protection, gloves and any respiratory protection required by the assessed task and product safety information. Keep children and pets away from preparation and painting areas.
Reusable tubs or corrugated cardboard boxes can keep removed handles, screws and other small fittings organised. Label them by location and store them somewhere dry. Use proper protective coverings rather than cardboard to contain paint spills on paving.
Plan access before starting
A ladder is not a substitute for a stable working platform across a large elevation. Repeated reaching, scraping and carrying paint can create risks even at modest heights.
Multi-storey walls, steep ground, roof access and areas near overhead powerlines need a suitable access plan. Scaffolding or an elevating work platform may require professional setup or trained operation. Do not improvise platforms or stand on roofs simply to avoid hiring access equipment.
If you cannot maintain safe access throughout preparation and coating, arrange professional help for that section or the whole project.
Step 4: Wash the exterior and let it dry
Once hazardous materials have been ruled out or professionally managed, remove dirt, cobwebs, salt deposits, chalking and biological growth. Paint needs a stable surface beneath it, not a layer of contamination.
Use a cleaning product suitable for the substrate and follow its dilution, handling and rinsing instructions. Treat mould or algae with an appropriate product rather than painting over it. Avoid mixing cleaning chemicals.
A soft brush and controlled rinsing are often more suitable than aggressive pressure washing on weatherboards or fragile coatings. High pressure can damage timber, dislodge paint and force water behind cladding. Keep water away from electrical fittings and vulnerable openings.
Let the wall dry thoroughly, including joints and shaded areas. Surface dryness alone does not prove that timber or masonry has released absorbed moisture. Follow the coating manufacturer's moisture requirements and use suitable assessment equipment where needed.
When painting the outside of a house, washing is also a useful inspection stage: once grime is removed, failing edges and damaged joints are easier to see.
Step 5: Remove loose paint, feather edges and repair defects
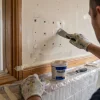
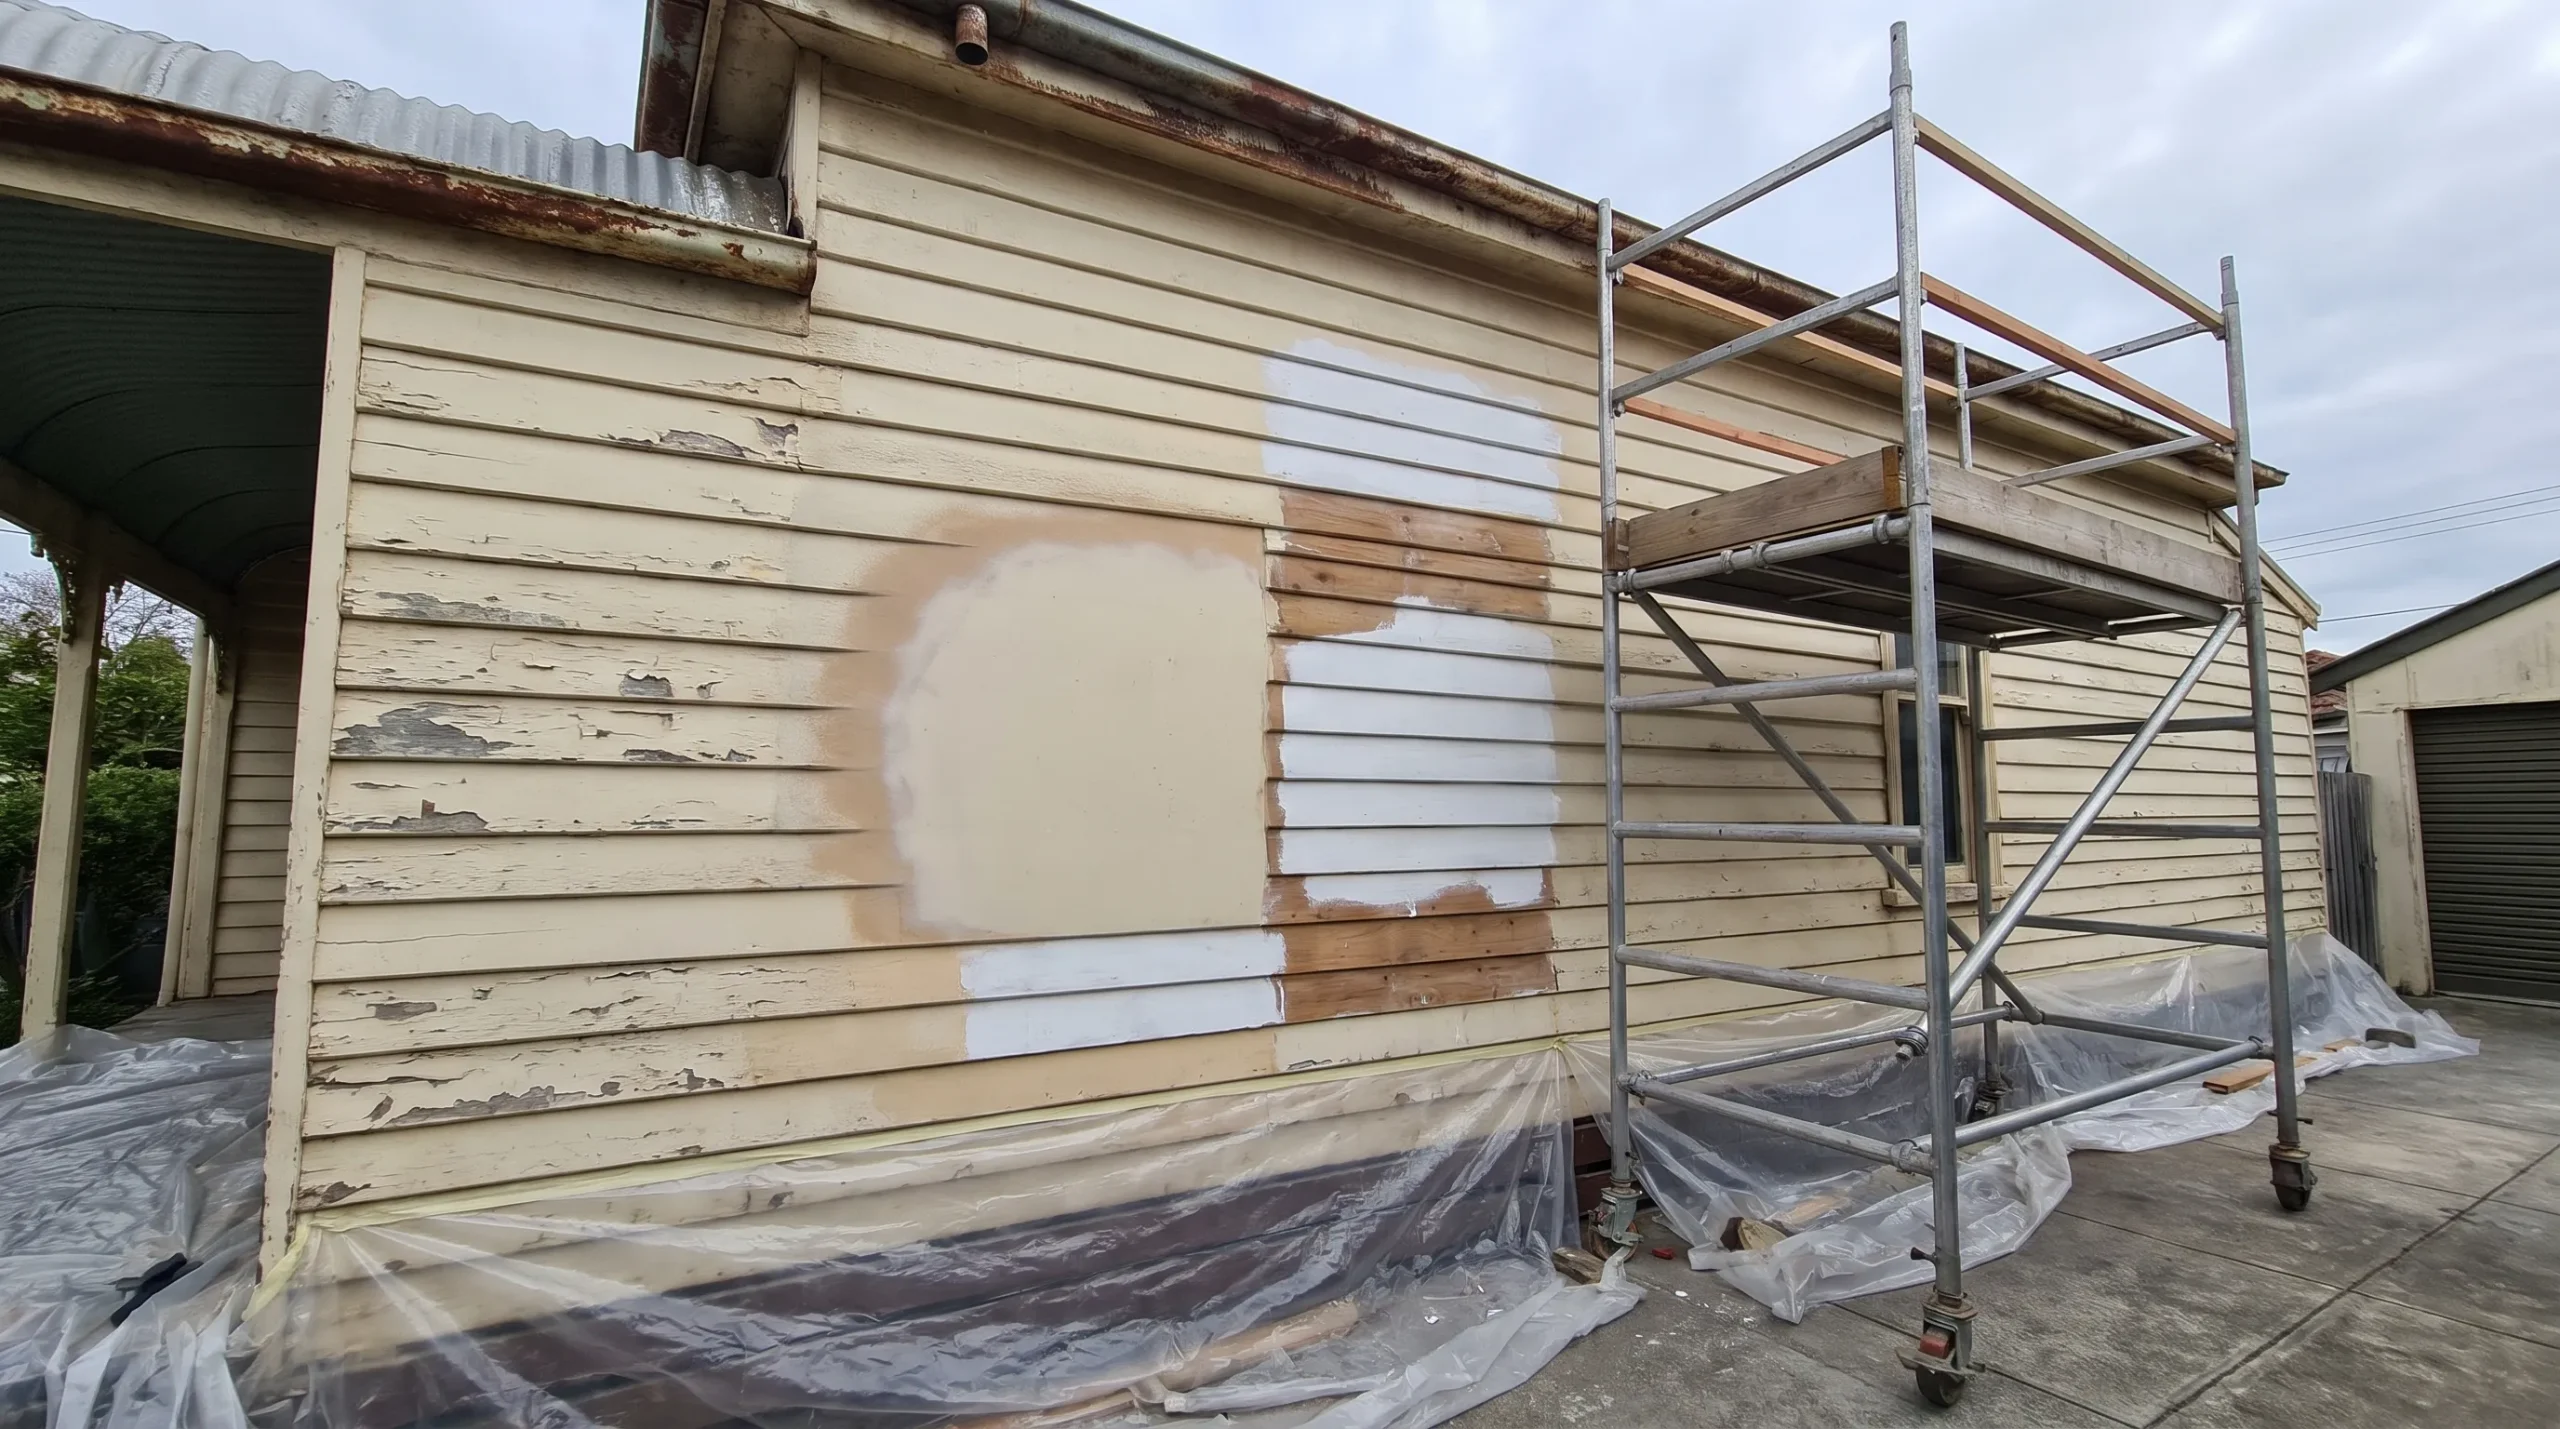
On surfaces confirmed safe to disturb, remove paint that is peeling, lifting or poorly bonded. Continue until the remaining edges are secure. There is no benefit in preserving a layer that releases easily beneath a scraper.
Sand sound painted surfaces as required by the selected coating system. Feather the edges between bare patches and retained paint so the repair does not leave a prominent ridge. Collect debris and control dust rather than allowing it to spread into gardens, neighbouring properties or stormwater drains.
Repair the substrate before filling cosmetic defects. Rotten timber may need replacement or a suitable repair system; filler alone cannot restore structurally unsound material. Recurring masonry cracks also need their cause assessed.
Use exterior-grade filler appropriate to the surface and a paintable exterior sealant where flexible joints require it. Follow curing instructions before coating.
Do not seal drainage paths, masonry weep holes, ventilation openings or window operating channels. These features need to remain functional after the repaint.
Step 6: Prime bare areas and address compatibility
Primer is not automatically required over every square metre of old paint. Equally, a topcoat should not be expected to solve bare patches, stains, corrosion or an unsuitable existing finish.
| Surface condition | Priming approach to confirm with the manufacturer |
|---|---|
| Sound, compatible existing paint | Cleaning and preparation may be sufficient before recoating |
| Exposed timber | Use the specified timber primer or undercoat |
| Bare or repaired masonry | Check whether a masonry primer or sealer is required |
| Glossy or difficult existing coating | Prepare and use an adhesion primer if specified |
| Exposed metal or corrosion | Treat corrosion and use a substrate-compatible metal primer |
| Persistent staining or timber tannins | Use an appropriate stain-blocking system |
Spot-prime exposed areas where the system allows it. More extensive priming may be necessary across heavily repaired, unevenly absorbent or uncertain surfaces.
For painting the outside of a house over old paint, primer selection should follow the substrate and coating condition, not a blanket rule. Allow each product its specified drying or curing period before proceeding.
Step 7: Choose a suitable weather window
Melbourne can offer workable painting conditions in several seasons, but the forecast and wall temperature matter more than the calendar.
Check the product's permitted air and surface temperature range, humidity limits and rain-resistance requirements. A sunlit wall can be much hotter than the surrounding air, while a shaded wall may stay damp well into the morning.
Avoid painting onto dew or applying a coat so late that evening moisture arrives before it has developed adequate resistance. Strong wind can carry dust, accelerate drying at the edges and make application difficult. Rain threatens both fresh paint and unfinished preparation.
Work around the building with the shade where practical, provided the surface is dry and conditions remain suitable. Do not assume a coat is ready simply because it feels dry to touch: touch-dry, recoat and full-cure times describe different stages.
Allow spare days in the schedule. Rushing a coat before a weather change can undo careful preparation.
Step 8: Apply the topcoats in a controlled sequence
Plan manageable sections before opening the paint. Work from upper areas down, completing one coherent wall section or architectural feature at a time. Protect adjacent surfaces and allow coatings to dry before applying masking tape where required.
For weatherboards, maintain a wet edge and follow the length of the boards to a natural break. On broad rendered or masonry areas, use a suitable roller and consistent overlapping passes. Brush into edges and profiles without leaving heavy deposits.
Apply paint at the manufacturer's stated spreading rate. Stretching it too far can leave inadequate film thickness, while heavy application can cause sagging and drying problems. Many exterior systems call for two finish coats, but follow the specified system rather than assuming one coat will be enough.
When painting the outside of a house, spraying can be efficient, but it requires suitable equipment, overspray control and careful protection of neighbouring property. Some surfaces and systems also require back-rolling or brushing.
Keep paint out of window tracks, door hardware, vents and drainage openings. Let each coat reach its specified recoat time before continuing.
Step 9: Inspect, correct defects and clean up
Inspect each elevation in good daylight once the coating is sufficiently dry. Check for thin coverage, missed edges, runs, visible repair ridges and paint bridging moving joints. Open and close windows and doors carefully to confirm that they remain functional.
Do not immediately paint over a defect without finding its cause. Let affected coatings dry as directed, then prepare and repair them according to the product guidance.
| Problem | What to investigate |
|---|---|
| Fresh paint lifts away | Contamination, moisture, poor adhesion or incompatibility |
| Blistering returns | Water entry, substrate moisture or unsuitable conditions |
| Uneven sheen | Uneven absorption, application thickness or inconsistent drying |
| Runs and sags | Excess paint or unsuitable application technique |
Remove masking carefully and collect paint chips, dust and leftover materials. Keep paint, wash water and solvents out of stormwater drains. Follow your council's disposal guidance and the product instructions, especially for hazardous waste.
Record the paint brand, product, colour, sheen and application date. Store usable leftovers as directed for later maintenance.
Decide whether DIY preparation and painting are worthwhile
The practical cost of painting the outside of a house includes more than paint tins. Access, preparation and repairs can outweigh the apparent saving from doing the application yourself.
| Budget item | What a DIY plan needs to include | What to confirm in a professional quote |
|---|---|---|
| Surface preparation | Cleaning, abrasives, fillers and waste handling | Which preparation tasks are included |
| Coating system | Primers, topcoats and likely wastage | Products, surfaces and specified coats |
| Safe access | Hire, delivery and suitable setup | Scaffolding or access equipment allowances |
| Repairs | Materials and any specialist trades | Included repairs and separately priced work |
| Protection and cleanup | Coverings, containment and disposal | Property protection and waste removal |
| Time | Preparation, drying gaps and weather delays | Expected sequencing and scheduling |
A ground-level wall with sound paint is a different project from a two-storey weatherboard home with widespread peeling. Compare quotes against the same scope rather than just the final price. Our guide to what changes exterior house painting prices explains the main cost variables.
Professional help is especially useful where hazards, difficult access, extensive coating failure or unresolved moisture problems make the work more than a straightforward repaint.
Frequently asked questions
Can you paint directly over old exterior paint? Yes, if the existing paint is firmly bonded, clean, dry and compatible with the new coating. Preparation may still include dulling glossy surfaces, feathering edges and priming exposed areas. Loose or failing paint must be dealt with first.
Do you need to remove all the old paint? Not usually. Sound paint can often remain, but widespread failure may require more extensive removal. Assess hazardous materials before choosing any stripping, scraping or sanding method.
Do you always need primer before painting the outside of a house? No. Some sound, compatible painted surfaces can be recoated after the specified preparation. Bare substrates, stains, exposed metal and adhesion problems may require different primers. Follow the selected manufacturer's system.
How long should an exterior repaint last? There is no reliable single lifespan for every home. Substrate condition, preparation, coating quality, exposure and maintenance all matter. Check vulnerable areas regularly and repair local damage before water gets behind the finish. A workmanship warranty is not the same as a guaranteed repainting interval.
How much does exterior house painting cost in Australia? A useful estimate needs the property's size, substrates, paint condition, access requirements and repair scope. Ask for an itemised quote showing preparation, coating products, included surfaces and exclusions rather than relying on a generic whole-house figure.
Get an exterior repaint plan for your Melbourne home
If the old coating needs more than a simple refresh, start with an assessment rather than another layer of paint. Auspainters provides exterior painting across Melbourne, with free quotations, Dulux accreditation, full insurance and a 5-year workmanship warranty.
Request a free quote from Auspainters to discuss your existing paint, preparation needs and access requirements. A final walkthrough is included so the completed work can be reviewed with you.